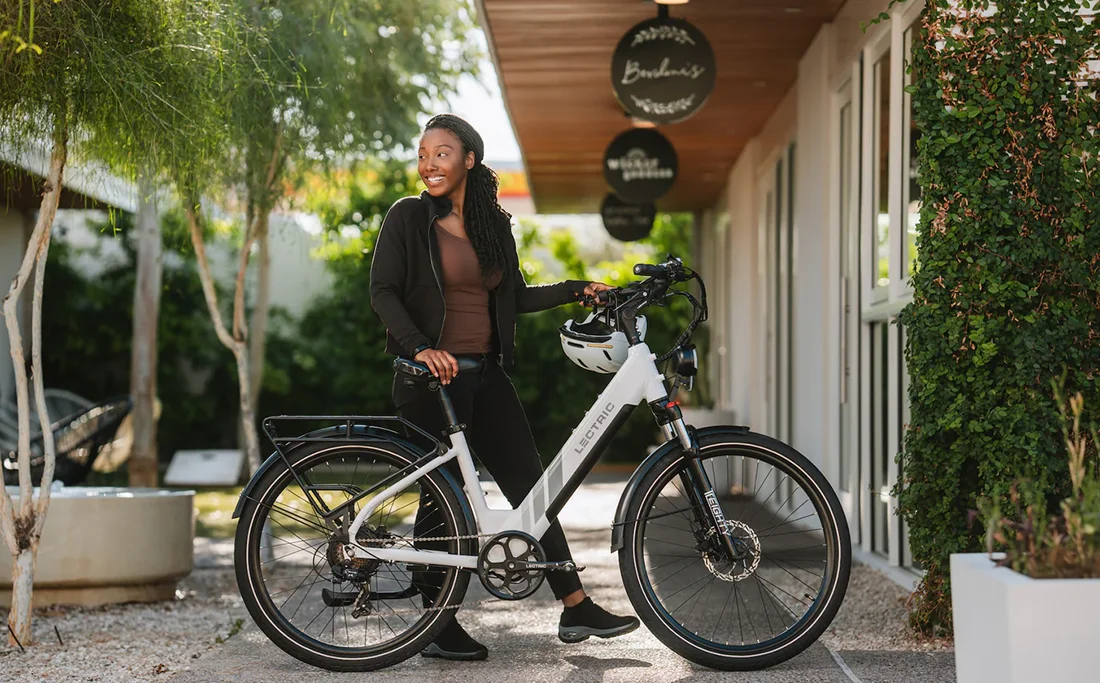
No matter if you are a kid or a grown-up adult, the basics are the same. The fact you’re on this page means I don’t have to tell you why to cycle because you are already aware that going on a bike ride is one of the best things in life!
It’s never too late to start riding a bike.
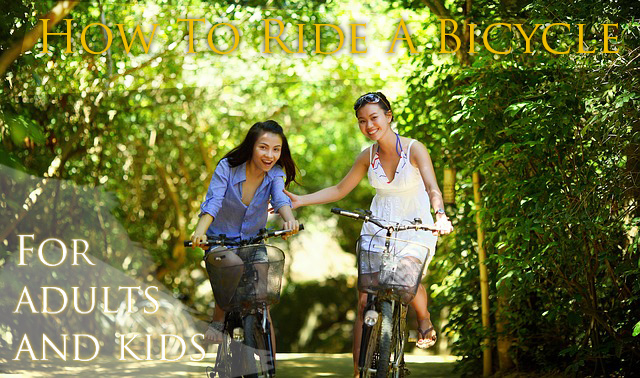
In this article, I will guide you through the learning process, point out the basics of teaching kids to ride a bike and adults to start learning. Also, below, I will teach you how to be a better rider on roads and forest trails. How to brake, change gears, steer, and a few other important skills.
So let’s start learning how to ride a bike. This guide is around 1,500 words long, so it takes just 3-5 minutes to go through it.
Contents
Learning How To Ride a Bicycle (For Adults)
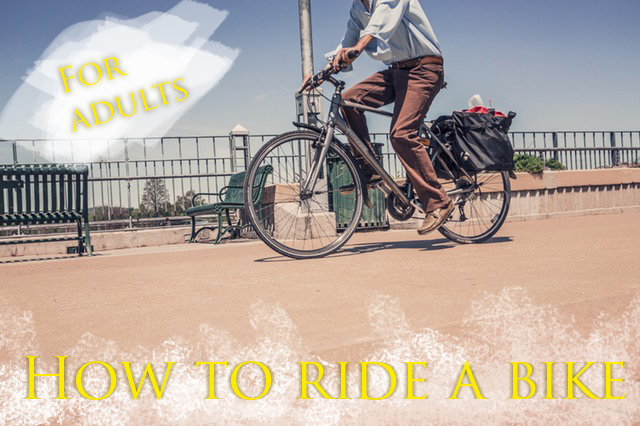
It’s never too late to start learning to ride a bike as an adult! All you need is a bike (preferably with an upright geometry) and the desire to learn.
There are basically two main ways to start learning:
First of all, you want to select a low gear to make it easier to start pedaling. However, don’t select the easiest gear on the cassette because you might spin out and fall as you won’t have enough momentum.
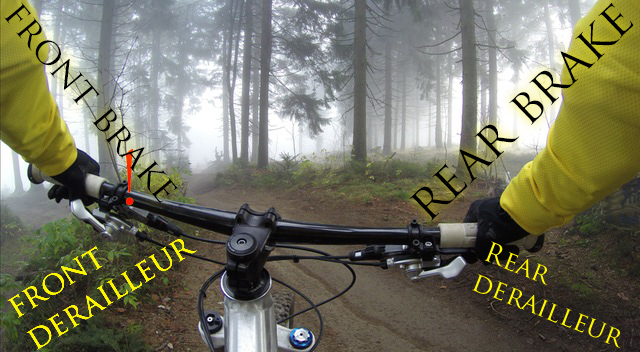
The first method is to lean against the wall, feet on the pedals, one hand on the handlebar. Start pedaling and push yourself away from the wall. Start riding in a straight line, then make circles, and then try to ride in eights. Feel the brakes (press the rear brake first!), change gears, first with the rear derailleur and then with the front.
NOTE: Keep in mind not to push hard on the pedals when changing gears. You can damage the derailleurs or lose balance and fall.
The second method is to put one pedal up and place your foot on it. Then push down on it and sit on the saddle. At the same time, put the second leg on the other pedal and start pedaling. Both are quite easy ways for those who want to learn how to ride a bike.
Now all that’s left is to follow the four steps below to stay safe and enjoy all of your future bike rides!
Related: Find proper bikes for yourself here.
1. Find a Safe Place for Your First Bike Ride
 A safe place must be away from traffic. You should eliminate as many distractions as possible when making your first pedal strokes. Also, you don’t want to put yourself in danger. So don’t try to learn how to ride on the busy streets of New York City!
For example, a safe place for your first bike ride is a park or any traffic-free road. The best place to start learning how to ride a bicycle would be on trimmed, soft grass. It’s a little bit harder to start pedaling but if you fall, it doesn’t hurt.
A sidewalk or a park lane is also a good place to ride because you’ll land on grass if you fall. Just make sure that there are no pedestrians around you.
DC Bike Ride occasionally organizes car-free rides around Washington DC, which lets you explore the capital without any traffic. This is a great way to practice riding a bike and meet other cyclists that you can ride with afterward. You can pedal past memorials and monuments with the city all to yourself and be a part of the community.
2. Wear Comfortable Clothes
 Keep in mind that you may fall the first time you go on a bike ride and you don’t want to ruin your clothes.
You can use knee pads and elbow protectors, which will decrease the risk of injury. Make sure not to wear baggy shorts because if you fall, they might get tangled around the saddle and make things even worse.
Also, you should be wearing shoes that will offer at least some protection for your feet. Avoid riding a bike in sandals.
Finally, you should not wear loose trousers as they can also get stuck between the chainrings. If you have no other options, always make sure to tuck them inside the socks!
3. Wear a Helmet on Every Bike Ride
 Let’s make it simple – wearing a helmet is an absolute must, in addition to following all other rules of the road!
Wearing a helmet is especially important when you are in the learning stages of how to ride a bike. You must always wear a helmet (Check out Thousand helmets) and you should make sure that your kid wears a helmet as well.
To offer full protection, your helmet should be adjusted properly. It should neither be too tight nor too loose.
Just take 10 minutes to adjust your helmet properly because you have to do it only once and you might as well take the time to do it right. It should sit snuggly over your forehead, around 1 inch above the eyebrows. You can achieve the right fit by using the provided straps.
Wearing a helmet on every bike ride is crucial because your head is fragile! In the best-case scenario, you’ll walk away from a crash with a bruise or a light concussion. Worst-case scenario, you’ll get much more serious injuries.
Related: Best Bike Helmets (& How To Choose)
NOTE: By not wearing a helmet, you set a bad example for kids and other riders.
4. Adjust and Check Your Bike
Before every bike ride, do a quick check-up to make sure that your bike is in good working order. Keep the drivetrain clean and lubricated as well.
 Make sure that you have the correct bike size for your height and that the saddle height is adjusted properly. You can check this by leaning against a wall.
When your seat height is adjusted properly, there should be a small bend in your knee when the pedal is in the 6 o’clock position.
However, if you are still learning how to ride a bike, you can lower your saddle slightly at first and raise it when you feel more comfortable. Make sure you can reach the handlebars easily, brake, turn, and change gears.
I don’t suggest changing gears while still learning because you might get distracted.
When it comes to brakes, typically the right brake lever controls the rear brake, whereas the left one controls the front brake. Keep in mind not to brake too hard with the front brake or you’ll flip over. Using both brakes at the same time is the proper way.
Teaching Kids How to Ride a Bicycle
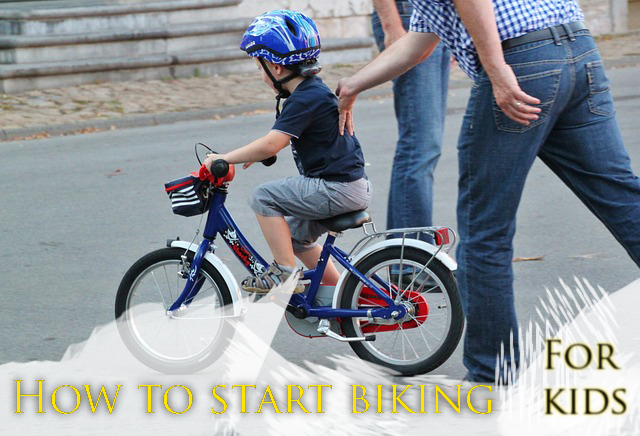
First of all, if your child’s pedal bike comes with training wheels, we recommend taking them off and turning the bike into a balance bike, which is much better for learning.
If your child is learning how to ride a bicycle on a geared bike, you should select an easy gear. You should then hold the bike behind the saddle and encourage your kid to start pedaling while you’re pushing slightly. Let them feel the balance, glide briefly, and let them stop and put one foot down.
Once they can maintain balance, ask them to start riding a bike in circles (not too small). If they can do this as well, you can let go of the saddle for a few seconds and see how they’re doing on their own.
If they’re doing well, keep your hand off the child’s bike for 5 seconds, then for 10 seconds, (always walking/running close behind!) and then let go completely.
A balance bike is the best choice for your kid’s first bike ride, even though it looks like a toy – see our reviews of woom 1 and Strider for some examples.
Once they are ready to change gears, you can support them once again if needed until they get used to the multitasking required to do everything on their own.
Learn more: How to Teach Your Kid to Ride a Bike
Changing Gears
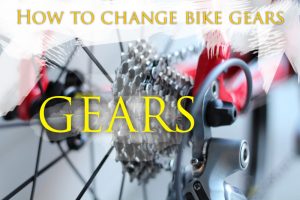
Changing gears is also a part of learning how to ride a bicycle.
Go from low to high. Change the gears by using the gear shifters. I suggest not to change more than 2 gears at once.
Make sure not to pedal too hard while changing gears because you might damage the derailleurs in the long run.
What if the gears don’t change? This happens from time to time, and I hate it when it happens on a hilly bike ride! You should press the lever again to change the gear up or down. If it’s a common problem, you might want to take your bike to a Local Bike Shop or learn how to fix this problem by yourself from YouTube.
NOTE: Don’t press hard when changing gears!
If you get the feeling, try to find the proper gear before you start climbing. You want to be in a lower gear to get up the hill much quicker. But what should you do when you realize that you can’t go over a very steep hill? Let me explain in the next chapter.
Related: Bike Gears Explained
Braking
In this section, I will teach you how to use hand brakes properly in order to slow down and stop safely and with confidence. If you have a coaster brake, then all you need to do is pedal backward.
Let’s start with the rear brake technique.
How to Brake with the Rear Brake?
As a bike-riding beginner, you can try to use the rear brake only in the beginning, until you become more comfortable.
I will also teach you how to use the front brake properly. Just try to get the right feeling about how the brakes work. Ride at the speed of 10-15 mph, look for a reference point on the ground, and try to stop there with moderate braking. If you stopped too soon or too late, try again. It should be easy.
NOTE: Your tires should not skid while braking. If they do, it means you pressed the brake levers too hard.
Try to brake on different terrains – tarmac, wet asphalt, mud, etc. Notice how the bike acts differently. Braking is very important when learning how to ride a bike.
How to Brake with the Front Brake?
That’s one of the scariest things for a lot of cyclists, especially for those who are learning to ride a bike as an adult. Actually, there’s nothing to be afraid of. Let me explain.
When you ride a bicycle, your center of gravity is around the middle of the bike and quite high. Here comes the physics – if you brake with your front brake, then your bike stops, but your body (which is heavier than the bike) wants to move forward. Because you didn’t slow down your body but the bicycle! To avoid that, you might want to brake smoothly with your front brake.
But, you must use your front brake! It’s crucial in many situations. You can use your rear brake in most cases, but for emergencies, you want to use your front brake too.
Practice makes perfect. Try using only the front brake while riding a bike slowly. Do it smoothly. If you get the feeling, then try to turn. Try to notice how it acts differently.
When riding a bike on a very steep hill, you must use only your front brake! Why? Because otherwise, you might fall backward.
Always use the front brake with caution!
How to Brake with Both Brakes?
Actually, you should use both brakes all the time. You should look at the rear one as the main brake and at the front one as the auxiliary brake.
When turning on slippery roads, you might want to let go of the front brake because it can make you fall. Also, you should always brake ahead of curves and intersections and then release the brakes and coast through them.
Watch out for traffic signs as well, such as a stop sign and red lights, and give yourself enough time to slow down ahead of it.
Also, if you’re riding in traffic, make sure to also use hand signals to let other people know what you’re doing next and stick to bike lanes if possible.
Practice

Practice, practice, and practice. That’s the only way to learn how to ride a bicycle. Riding a bike is something you never forget. The more you practice, the more you learn about how to ride a bike, and the more confident you become.
If you have any questions, you can also check YouTube, there are brilliant videos about bike riding.
And remember, even if you can ride a bike – ALWAYS wear a helmet! I hope you now know how to teach a kid to ride a bike as well!
I wish you safe bike rides!
FAQ
What are the benefits of riding a bicycle?
Going for a bike ride is one of the best things you can do for your physical and mental health. Riding a bike will help you lose weight, keep your joints healthy, reduce blood pressure and risk of heart rate disease, as well as help you fight depression and anxiety.
What is a good distance for a beginner cyclist?
If you are an absolute beginner and you’ve never gone on a bike ride before, you should start with 5-mile rides. Do them a few times a week and then increase your weekly mileage by 10-15% each week. Depending on how you feel, you can lower or increase the mileage more.
What does a beginner cyclist need?
Everything that a beginner cyclist needs to go on their first bike ride is a working bicycle and a helmet. That’s it. In the beginning, you don’t need to worry about fancy components, accessories, and advanced gear. Put your helmet on, get on the bike, and start riding.
What is the best way to teach a child to ride a bike?
The best way to teach a child how to ride a bicycle is with a balance bike. Balance bicycles provide a natural, intuitive, easy, and fun way to learn. Children quickly figure out how to work a balance bike with minimal input from parents and then easily transition to a real bicycle.
How long does it take to learn to ride a bicycle for adults?
Everyone is different, so the time it takes to learn to ride a bike as an adult is individual. Some people might need minutes or one hour, others might need an entire day, whereas some might need a few days or weeks. Just remember not to give up and you’ll learn eventually.
Read Next:
Help me spread the word – SHARE
P.S. If you found this guide to be useful, please share my page below. This helps me stay motivated to keep the information on this site accurate and up to date. 🙂