Road bike tire pressure is an important detail in properly setting up your bike that is often overlooked by beginners and even some experienced riders.
Tire pressure is a major factor in determining your speed, comfort, stability, and safety while cycling.
In the past, cyclists would typically inflate their tires to the maximum pressure recommended on the tire’s sidewall, hoping for the best. Fortunately, today we have a better understanding of tire pressure.
The ideal tire pressure for a road bike depends on a combination of factors such as rider and cargo weight, tire size, road surface, weather, and more.
In this article, we’ll present a road bike tire pressure chart and explain several methods on how to calculate the ideal tire pressure for your needs. We’ll also explain why tire pressure is so important and discuss the factors that influence it.
See also: Easy Beginner’s Bike Tire Pressure Guide
Contents
Optimal Road Bike Tire Pressure Chart
The quickest and simplest method to determine the correct tire pressure for your road bike is by referring to a chart that accounts for both tire size and rider weight.
Refer to the suggested tire pressure levels listed below, but remember that these recommendations are based on ideal conditions that include dry weather and smooth tarmac.
Road bike tire pressure varies based on rider weight, tire size, and conditions. Understanding it can significantly enhance your cycling experience.
If you plan to ride in wet conditions or on cracked asphalt, consider reducing the tire pressure by a few psi.
Additionally, if you use any of these tire sizes with larger rims than stated in the chart, lower the pressure by approximately 5 psi.
| 700x23c tire on a 17mm rim | 700x25c tire on a 19mm rim | 700x28c tire on a 19mm rim | 700x30c tire on a 19mm rim | |
| Rider weight | Recommended tire pressure | Recommended tire pressure | Recommended tire pressure | Recommended tire pressure |
| 50kg / 110lb | 84psi / 5.8bar | 73psi / 5bar | 65 psi / 4.5bar | 58psi / 4bar |
| 51-57kg / 112-126lb | 90psi / 6.2bar | 78psi / 5.4bar | 70psi / 4.8bar | 61psi / 4.2bar |
| 57-65kg / 126-143lb | 96psi / 6.6bar | 83psi / 5.7bar | 75psi / 5.2bar | 65psi / 4.5bar |
| 65-73kg / 143-161lb | 102psi / 7bar | 88psi / 6.1bar | 80psi / 5.5bar | 70psi / 4.8bar |
| 73-81kg / 161-179lb | 106psi / 7.3bar | 93psi / 6.4bar | 85psi / 5.9bar | 74psi / 5.1bar |
| 81-88kg / 180-194lb | 110psi / 7.6bar | 98psi / 6.8bar | 90psi / 6.2bar | 78psi / 5.4bar |
| 88-96 kg / 196-211lb | 115psi / 7.9bar | 103psi / 7.1bar | 95psi / 6.6bar | 83psi / 5.7bar |
| 96kg+ / 212lb+ | Use 700x25c tire | 108psi / 7.4bar | 100psi / 6.9bar | 87psi / 6bar |
Calculating Ideal Road Bike Tire Pressure
In addition to using a road bike tire pressure chart, there are a few other methods that you can rely on to determine the right tire pressure for you.
Keep in mind that the first method below may be less accurate than the chart above, the second method is about as accurate, whereas the third method is the most accurate as it takes more factors into account (though it may be challenging for beginners).
Method 1: 10% of Rider Weight
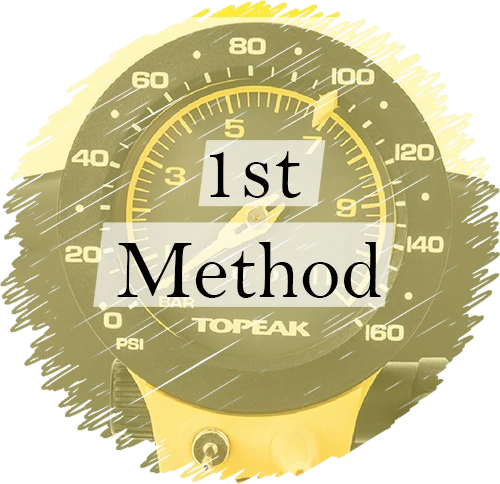
The first method is a general rule of thumb that states that the ideal tire pressure on a road bike equals 10% of your body weight in kilograms, converted to bars.
For example, if you weigh 80 kg, you should inflate your tires to 8 bar (116 psi), and if you weigh 75 kg, you should inflate your tires to 7,5 bar (108 psi).
While this is not the most precise method, it serves as a good starting point. You can adjust these numbers after going for a test ride by lowering the pressure as necessary.
Method 2: Rider Weight x Tire Width
The second method is a more nuanced rule of thumb that accounts for tire width in addition to rider weight.
According to this rule, a rider weighing 154 lb (70 kg) should inflate their tires to 7.6 bar (110 psi) for a 23 mm wide tire, 6.7 bar (100 psi) for a 25 mm tire, and 5.7 bar (85 psi) for 28 mm.
For every 20 lb (10 kg) of body weight, adjust the tire pressure up or down by around 5 psi (0.35 bar).
For example, if you weigh 80 kg, you should inflate to 8 bar (116 psi) for a 23 mm wide tire, 7 bar (101 psi) for a 25 mm tire, and 6 bar (87 psi) for a 28 mm.
But also keep in mind that these recommended values may vary depending on the tire’s manufacturer and model.
Method 3: Road Bike Tire Pressure Calculator
Finally, using an online road bike tire pressure calculator is by far the most precise method of determining the right tire pressure.
Most online calculators consider advanced factors such as:
- Ride style
- Bike weight
- Wheel diameter
- Front and rear tire width
- Inner rim width
- Tire casing type
- Rim type
- Surface
With all of these aspects factored in, you can fine-tune the tire pressure to suit your specific needs.
However, this can be overwhelming for beginner cyclists who may struggle with understanding and locating these values.
With that out of the way, here are a few online tire pressure calculators that we frequently use and like to recommend:
Factors Influencing Road Bike Tire Pressure
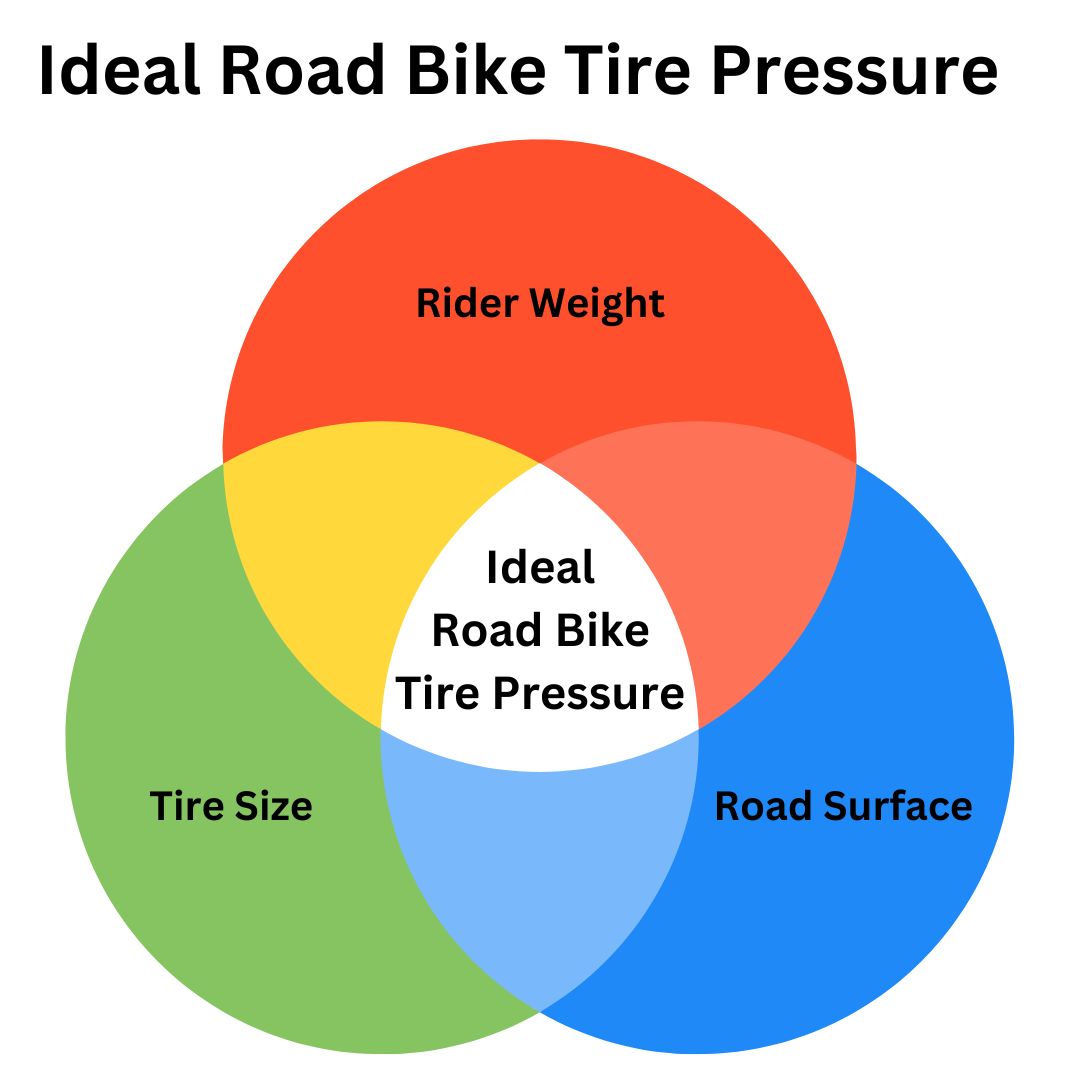
To optimize both performance and comfort while riding your bike, it’s crucial to understand the most important factors that influence road bike tire pressure.
Let’s take a closer look at how variables such as weight, tire size, surface, weather, and tire type affect the ideal tire pressure for your road bike.
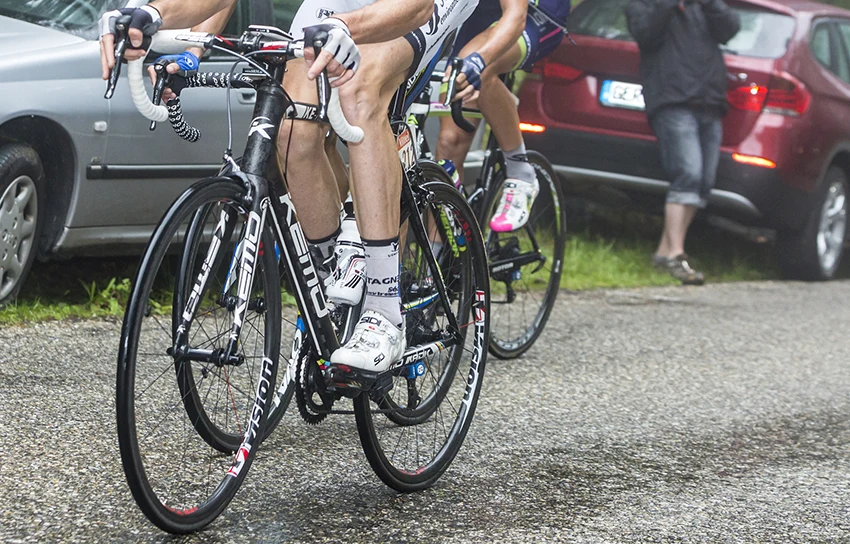
Rider and Cargo Weight
The combined weight of the rider, bike, and any additional cargo significantly affects the ideal tire pressure of a road bike. Heavier loads require higher tire pressure to maintain optimal performance.
An underinflated tire, while offering increased traction, will lead to reduced speed. Additionally, it heightens the risk of pinch punctures, particularly when encountering bumps, if you’re using inner tubes.
The ideal tire pressure for road bikes is influenced by the combined weight of rider and cargo, requiring careful balance to optimize performance and prevent issues like pinch punctures.
The general guideline is to increase tire pressure proportionally as the combined weight of the rider and cargo increases.
Moreover, you should always inflate the rear tire slightly more than the front tire because of the weight distribution—the rear tire typically carries more weight than the front.
Tire Size
Tire size is another highly important factor to consider.
The best road bikes tend to use 25mm or even 28mm tires nowadays, as opposed to the 23mm tires that were typically used before.
As a rule of thumb, the wider the tire, the lower the pressure should be, and vice versa.
The reason why even pro cyclists switched to wider road bike tires is that a wider tire with a slightly lower pressure provides a larger contact patch with the ground, improving comfort, safety, and performance.
Another thing to keep in mind is the rim width. Most modern road bike tires are designed around a 19mm internal width, so if you’re using rims wider than 19mm, this will increase the width of the tire when inflated. In that case, you should lower the pressure by a few psi.
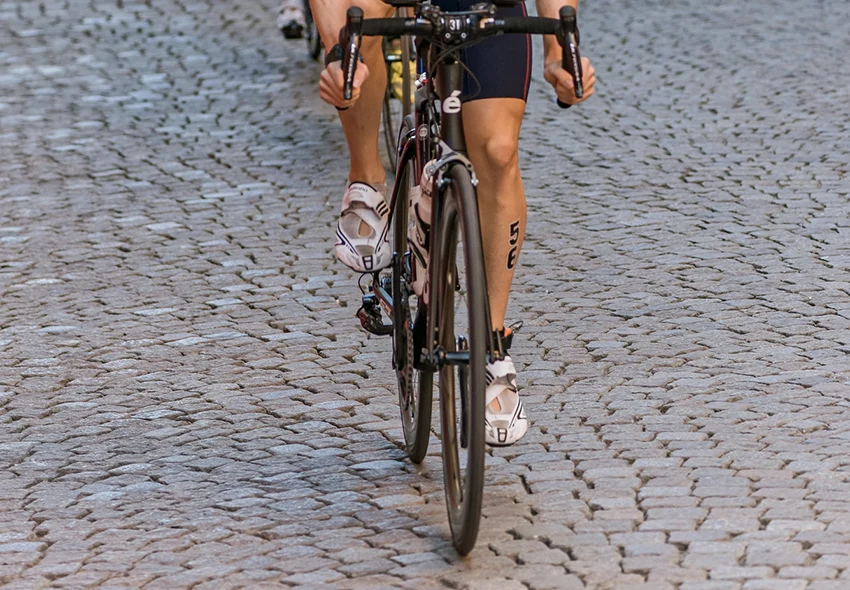
Road Conditions
Road conditions also impact how much air pressure you should put in your road bike tires.
Namely, if you’re riding on perfectly smooth tarmac, higher pressure will be faster. But if you’re riding on cracked asphalt or rough cobblestones, you should lower the pressure by a few psi.
As the road quality goes down, the pressure in your road bike tires should go down as well.
On rough roads, high pressure increases vibrations and makes the tire bounce, which decreases your traction and lowers your speed.
Therefore, a rule of thumb is that your tire pressure should go down as the road quality goes down.
Weather
High pressure decreases the contact patch between the road and the tire which reduces drag and increases speed on smooth and dry roads.
However, when the conditions are wet, it’s a good idea to lower the pressure by 5 psi to increase the contact patch and improve grip.
Moreover, you should keep in mind that high temperatures can increase tire pressure because the air volume in the tires expands because of the heat.
If you’re riding on a very hot summer day, it’s worth lowering the pressure by a few psi to avoid extreme pressures.
Similarly, on very cold days, you should increase the pressure by a few psi because the air condenses in cold temperatures.
Tire Type
The type of tire you use — clincher, tubular, or tubeless — also dictates the recommended pressure range.
Clinchers typically require higher pressure to prevent pinch flats because of using an inner tube.
Tubulars are glued to the rim, without an inner tube, so they require lower pressures. Extremely high pressures could lead to separation between the rim and the tire.
Finally, tubeless tires allow you to run lower pressures compared to clinchers, because of the lack of an inner tube. This means you can improve comfort and traction without risking pinch flats.
Impacts of Tire Pressure on Ride Quality
The tires are the only part of your bike that comes into contact with the surface, so optimizing road bike tire pressure has a huge impact on safety, performance, and comfort.
The four main areas in which tire pressure impacts the overall ride quality are:
- Rolling resistance
- Puncture risk
- Traction
- Comfort
Firstly, rolling resistance is the force resisting the motion of your tires while they’re rolling on the ground. You can minimize rolling resistance by using optimal tire pressure, which will make your pedaling more efficient. For example, by running lower than ideal pressure, the drag between the road and the tire will increase, which will increase the rolling resistance, which means you need to pedal harder to achieve the same speed.
Next, tire pressure also affects puncture risk, especially on clincher tires with inner tubes. A lower-than-ideal pressure allows the tire to compress under load (when going over a bump) which pinches the inner tube between the rim and the tire, causing a pinch flat (also known as a snake bite flat).
Adjusting road bike tire pressure is key for enhancing performance, reducing puncture risk, improving traction, and increasing comfort.
Another way in which tire pressure impacts ride quality is by optimizing traction relative to the surface and weather conditions. In wet weather, you can lower the tire pressure to increase the contact patch between the tire and the road and improve traction and safety.
Finally, optimizing tire pressure is one of the easiest ways to improve your comfort while cycling. Using correct air pressure will allow your tires to deform slightly on rough surfaces, absorbing vibrations and lowering fatigue.
More Is Sometimes Less
With all that we’ve learned above, we can conclude that more is sometimes less when it comes to tire pressure on a road bike.
Inflating your tires to the maximum recommended pressure (which is something many cyclists still do) can lead to decreased performance, safety, and comfort, depending on the riding conditions.
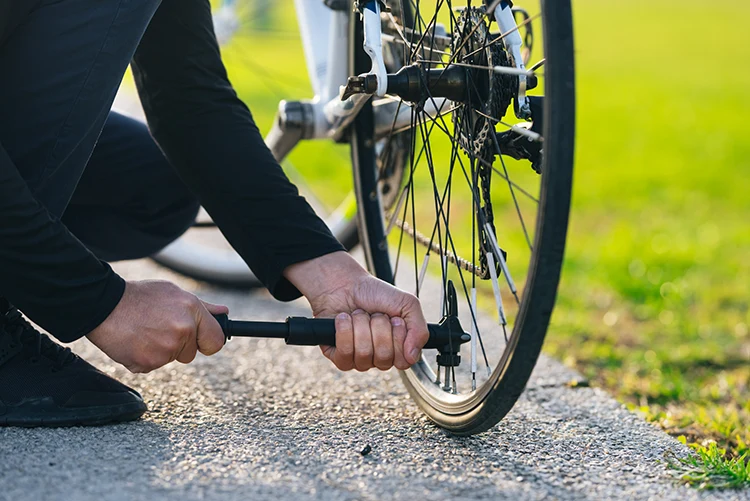
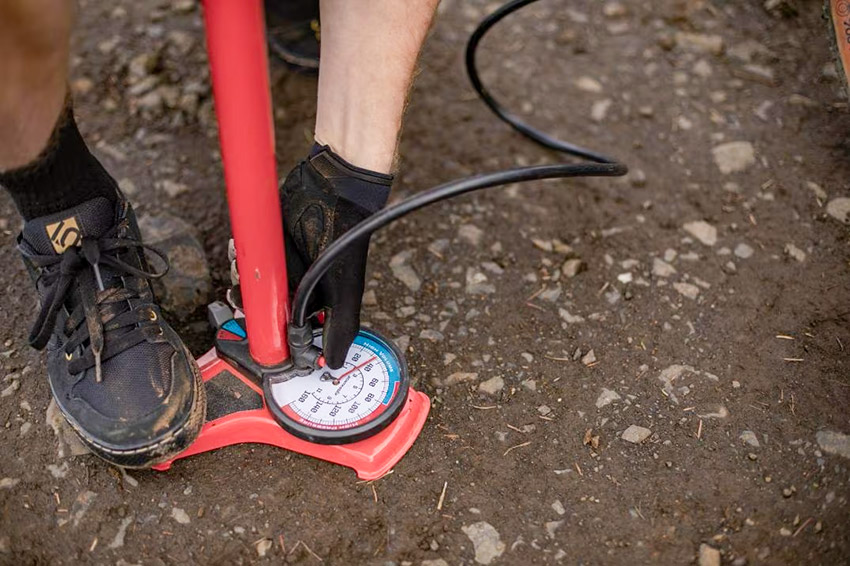
Tools for Maintaining Tire Pressure
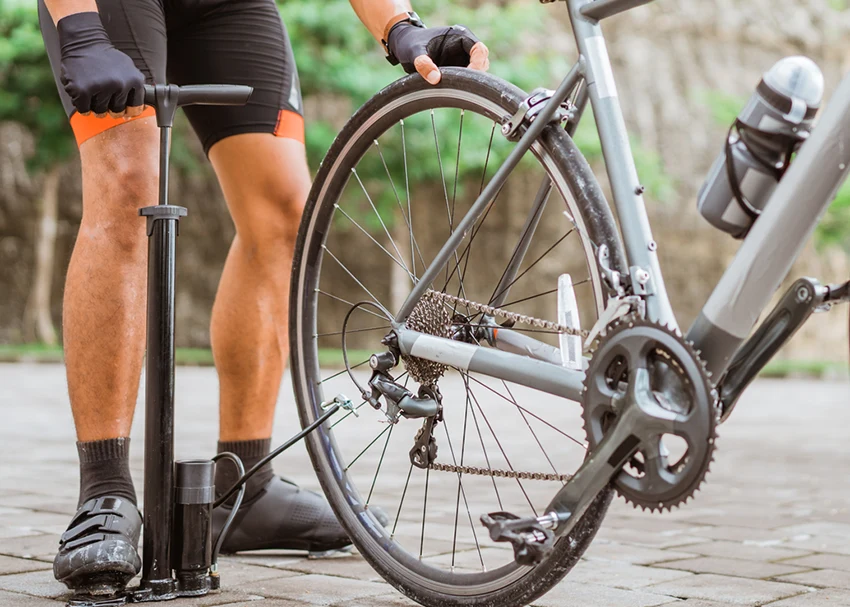
Maintaining the correct tire pressure would not be possible without having the right tools at hand.
The most important tools for this job that every avid cyclist should have in their kit include:
- Floor pump
- Mini pump
- Tire pressure gauge
- Puncture repair kit
- Valve adapter
A floor pump is an absolute must-have for any cyclist as it’s the easiest way to keep your tires inflated and do routine checkups before each ride. You can inflate a tire in a few dozen pumps and most models also come with a handy gauge to make sure you have the right pressure.
On the other hand, a mini pump is essential to have on the go for roadside repairs. They’re light and compact and can easily fit inside your jersey pocket or bike bag.
In case none of your pumps have a pressure gauge, it’s important to invest in one as it provides precise pressure readings, ensuring that your tires are neither under nor over-inflated.
Moving on, a puncture repair kit is another essential addition to your tool kit as it will allow you to repair a puncture on the side of the road and continue your ride, instead of getting stranded.
Finally, it’s good to have a Schrader to Presta valve adapter if you’re using Presta valves. This will allow you to inflate your tires anywhere, even on gas stations that typically have compressors compatible with car (Schrader) valves only. Read our guide to learn more about Presta vs. Schrader valves.
Fine-Tune Road Bike Tire Pressure for Your Needs
Now that you know the ins and outs of road bike tire pressure, it’s time to put this knowledge into use and fine-tune your bike’s tire pressure to suit your needs and road conditions.
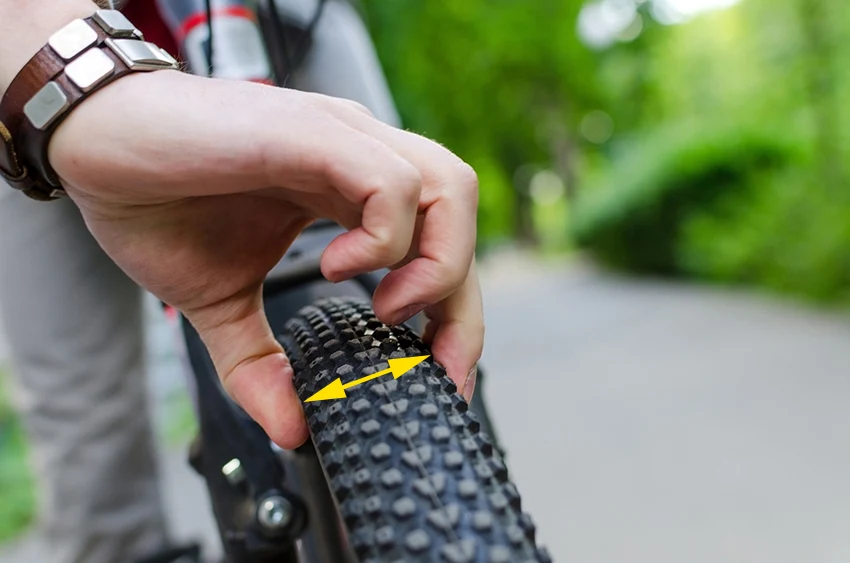
The best and easiest way to do this is by experimenting with different pressures, noticing how the bike feels, and adjusting correctly.
If you plan to ride on a route that mostly has smooth tarmac, you can inflate your tires to the highest recommended pressure from our road bike tire pressure chart above and then lower the pressure by a few psi mid-ride if you’re experiencing too much vibration and bouncing.
Fine-tune your road bike’s tire pressure by experimenting with different levels to match your specific needs and varying road conditions, adjusting based on feel and terrain type.
On the other hand, if you know you’ll be riding on patchy and cracked asphalt with potential potholes, we recommend lowering the tire pressure by 5 psi relative to the recommendations in our chart above and seeing how the ride feels before making any further adjustments.
Just keep in mind that there’s no one-solution-fits-all when it comes to tire pressure. Everyone’s setup and riding conditions are different, so it’s important to find the setting that suits your needs at a particular time.
Related Articles:
8 Best Road Bikes Under $1,000