The road to becoming a stronger cyclist is through doing structured training. Get fitter, ride longer, and climb faster by learning how to make better use of your time on and off the bike.
It’s not uncommon to hear that to get better at cycling you just need to ride more. But that’s not entirely true.
Plus, some riders simply don’t have enough time to up their hours on the bike as they’re torn between work, family, and social life.
The reality is that you can make significant gains with minimal time on the bike by doing structured cycling workouts.
You can significantly improve your performance with as little as 5-6 hours of riding by working smart, in addition to working hard.
In this detailed guide, we’ll tell you all you need to know about the most important principles so you can start working towards achieving your goals.
As this is an incredibly broad topic, we simply can’t cram everything into one web article.
If you want to learn even more about this topic, we also recommend reading The Cyclist’s Training Bible book, by Joe Friel.
Contents
- Set a Specific Goal You Want to Achieve
- Aerobic vs. Anaerobic Efforts
- Understand Your Rate of Perceived Exertion (RPE)
- Training With Heart Rate and/or Power Meter
- Finding Your Heart Rate and Power Training Zones
- On the Bike Cycling Workouts
- Off the Bike Cycling Workouts
- Frequently Asked Questions
- Final Thoughts
Set a Specific Goal You Want to Achieve
First and foremost, training without a specific goal is like wandering aimlessly in the dark.
You’ll get somewhere, but you’ll probably not get as far as you would have with a specific destination in your mind.
So the first step to structured training is to choose a tangible goal that you will base your workouts around.
This is important because training for a short climb, a long climb, a criterium, or a road race requires a completely different approach.
If you’re not sure where to start, here are some ideas regarding goals that you can choose:
- A local climb
- A Strava segment
- New distance record
- New FTP score
- A race
- An endurance event, etc.
When setting a goal, it’s important to give it some thought and choose something that’s achievable but challenging.
Choosing something way too ambitious will demotivate you, whereas going for something too easy could prevent you from reaching your full potential.
Related: Cycling benefits
Aerobic vs. Anaerobic Efforts
The idea behind structured training is to help you incorporate different types of efforts that will periodically push your body above its limits while giving you enough time to recover in between.
In cycling, as well as in many other sports, we can differentiate between volume and intensity, as well as between aerobic and anaerobic fitness.
It’s important to incorporate all of these into your training plan to develop a more complete set of abilities.
Related: How To Improve Your Cycling
Alternating Between Volume and Intensity
One of the biggest mistakes beginner cyclists make is to go as hard as they can on every ride. This is a recipe for overtraining and failure.
Related: How to Avoid Overtraining
Unfortunately, we have all been guilty of this cycling sin at least once in our cycling careers.
The way to avoid this is to alternate between easy and hard rides. Surprisingly, most of your rides should be quite easy zone 1, 2, or 3 endurance and sweetspot efforts.
This is the kind of effort during which you can talk to your cycling partner in full sentences. This will help you build aerobic volume, which is the base from which you can start working on intensity.
Hard rides, such as intervals, sprints, or hill repeats should appear only once or twice in your weekly training plan, preferably with a day or two of rest in between.
This will help you build anaerobic power and muscle strength that will improve your speed and raise your FTP.
Depending on how much time you have on a weekly basis, you should try to do 2-3 easy sub-3-hour rides, 1-2 interval or sweetspot rides, and one plus-3-hour endurance ride on the weekends.
Take at least one day off the bike a week as well.
Related: Sweetspot vs Threshold Workouts – Which is Better?
Understand Your Rate of Perceived Exertion (RPE)
As we’ve mentioned above, one of the ideas behind structured training is to help you alternate between different types of efforts.
However, to do that, you need to be able to quantify those efforts somehow.
The best way to do it (and the most expensive) is by using a power meter or a heart rate monitor.
Related: Best Power Meters
However, this is not necessary, especially if you’re a beginner or an amateur.
A free and easy way to measure the intensity of your exercise is with the Rate of Perceived Exertion (RPE) scale.
This is a scale that runs from 1 to 10, where each number corresponds to a different level of intensity described by subjective feelings of difficulty.
Score |
Feeling/Description |
| 1 | Looking at your bike and thinking about riding. |
| 2 | Prepping your bike and nutrition for the ride. |
| 3 | Low-paced recreational riding. Almost no exertion. |
| 4 |
All-day riding pace. An effort that’s not easy but sustainable for hours. You can talk in full sentences.
|
| 5 |
Riding faster than usual, but still being able to maintain a conversation.
|
| 6 |
Consciously upping the effort so you can only talk in short sentences.
|
| 7 |
Going for a longer Strava KOM. Being able to speak in short phrases.
|
| 8 |
An effort you can sustain for only a few minutes. Barely able to speak.
|
| 9 |
As hard as possible but short of a sprint. An effort that makes you think you’ve gone too hard.
|
| 10 | Full-on sprint. Maximum effort. |
The reason why the RPE scale is such a great tool for training is that it’s completely free, it’s easy to use, and the zones are intuitive.
You can easily understand these descriptions even if you’ve never exercised in your entire life.
However, the main disadvantage to this approach is that it’s not very precise and it’s hard to put it into numbers.
It’s based on how you feel on any given day, which is influenced by both physique and psychology.
If you’re serious about racing or you simply love analyzing data for hours, then you should aim to quantify your training with tools such as a heart rate monitor or a power meter.
Training With Heart Rate and/or Power Meter
If you’re a serious racer, a keen amateur, or simply a lover of structure and data, you should consider investing in a heart rate monitor and/or a power meter.
These tools give you the ability to put a number on your efforts and know exactly how hard you’re working. However, both methods come with certain pros and cons.
Depending on what goals you have, you could be better off with one or the other (or the combination of the two).
Training with Heart Rate
A heart rate monitor tells you how hard your cardiovascular system is working while you’re cycling.
By knowing your resting heart rate and your maximum heart rate, you can calculate your HR zones and structure your training around them.
The main benefit of heart rate monitors is the price. They’re a lot cheaper than power meters, so it does not feel like a huge commitment to get one.
Your heart rate will tell you how hard you’re exerting yourself, how well recovered you are, and when you might be overtraining.
However, this method is only good for longer and more sustained efforts.
When changing intensity, your heart rate needs a minute or two to stabilize, which means you won’t have accurate data if you’re doing short intervals.
Moreover, your heart rate is dependent on various factors, such as fatigue, illness, or medication.
Therefore, you could be training in the wrong zone without even knowing it.
Training with Power
Training with a power meter has its own set of pros and cons.
Their prices have dropped significantly in recent years, but they’re still a lot more expensive than heart rate monitors.
The main advantage of using power meters is that the data you get is always consistent. Your heart rate can fluctuate based on different factors, but 200 watts is 200 watts no matter what.
Related: Power Meters Explained
Moreover, a power meter allows you to see progress. When you start riding, you might be able to hold 150W for a certain amount of time.
In a few months, you could be able to do 200W for the same period, which will show that your work is paying off. A heart rate monitor does not give you that ability.
Also, the power data you get from a power meter is immediate. The moment you step harder on the pedals, the power goes up.
That makes this tool perfect for shorter intervals and varying efforts. This ensures that you’re always working in the correct training zone.
However, as mentioned above, power meters are still quite pricey even though the prices have come down some.
Plus, training with power is quite rigid and prescriptive, which doesn’t suit everyone out there.
Finding Your Heart Rate and Power Training Zones
Heart rate monitors and power meters are the most precise tools you can use for your cycling workouts.
However, they’re only accurate if you set your training zones correctly. If your zones are off, you’ll see limited results from your structured training.
There are many different ways to set your training zones, so let’s take a closer look at some of the most widely accepted ones.
Setting Your Heart Rate Zones
In order to find your heart rate training zones, you need to know two values: resting heart rate and maximum heart rate.
Finding your resting heart rate is easy. Simply measure your HR in the morning, first thing as you wake up while you’re still in bed. Do this for a week and then find the average value.
Calculating your maximum heart rate is a bit harder.
A simple (yet outdated) way of doing it is by using the formula of 220 minus your age. However, this is an inaccurate method that is not recommended anymore.
The best way to find your maximum value is to do a tough test that will take you to your physical limits. Here’s how to do it:
- First, warm up for 15-20 minutes by alternating between easy and steady efforts.
- Next, find a steady climb that’s not too steep, but still challenging.
- Complete four ascents on this climb by increasing your effort every 30s-1min until you’re sprinting out of the saddle and you can’t maintain the same pace any longer.
- Immediately check your heart rate or analyze your data afterward.
- Cool down with an easy spin for 5-10 minutes.
Now that you know what your maximum heart rate is, you can establish your training zones. There are different theories on the number of zones you should use, but we prefer the 5-zone approach.
Zone |
% of HR Max |
Use For: |
| 1 | 60-65 % |
Warm-up, cool-down, recovery
|
| 2 | 65-75 % |
Long, endurance rides
|
| 3 | 75-82 % |
Steady efforts of 10-20 minutes
|
| 4 | 82-89 % |
Hard efforts of 2-8 minutes
|
| 5 | 89% to Max |
Super-hard efforts of less than 2 minutes
|
Note: If you have a cycling computer with a HR function or a GPS sports watch, your device might establish your maximum heart rate and set your training zones automatically. You can also add this data manually if you want to use a different format.
Setting Your Power Zones
When it comes to setting power zones, there’s no easy way to do it.
Power zones are calculated based on your Functional Threshold Power (FTP).
In theory, this is the maximum stabilized power you can sustain for one hour before you cannot go any longer.
To find your FTP, you need to do an FTP test. There are many different ways to do it and many different opinions regarding which way is the best one.
For example, you can do a Ramp Test, a 20-minute test, or a one-hour test.
The most popular and widely accepted method is the 20-minute test. Here’s a step-by-step guide on how to do it.
Keep in mind that this is a very hard effort, so make sure that you are well-rested before doing it to get the most accurate results.
- First, warm up for 15-20 minutes by alternating between easy and steady efforts.
- Find a steady climb on a smooth road without any interruptions, preferably with a 3-4% grade.
- Do a hard 20-minute effort, increasing your wattage every 5 minutes. Pacing is incredibly important, so start easier and aim to reach your maximum power in the last 2 minutes. Stay seated at all times!
- Now that you have your average 20-minute power, you can get your FTP value by multiplying that number by 0.95.
Now that you know your FTP, setting your power training zones is a matter of looking at the chart below. Again, we’re using a 5-zone format.
Zone |
% of FTP |
Use For: |
| 1 | 56-75 % |
Warm-up, cool-down, recovery
|
| 2 | 76-90 % |
Long, endurance rides
|
| 3 | 91-105 % |
Steady efforts of 10-20 minutes
|
| 4 | 106-120 % |
Hard efforts of 2-8 minutes
|
| 5 | 121% + |
Super-hard efforts of less than 2 minutes
|
Note: Some cycling computers might calculate or update your FTP and set your training zones automatically. You can also add this data manually if you want to use a different format.
On the Bike Cycling Workouts
To get better at riding your bike, you will have to spend a lot of time in the saddle. Sounds simple!
However, as we’ve mentioned before, you can’t just go hard all the time and expect to see continuous gains.
Instead, you need to vary your workouts to include different types of efforts and improve your fitness at different levels.
Keep in mind that you also can’t go hard every week. You should build your fitness for 3-4 weeks and then have one recovery week before the next block.
During this week, you should decrease volume and intensity to give your body time to recover.
Here’s a short guide to the most important types of cycling workouts with examples you can follow and incorporate into your weekly routine.
Interval Training
Interval training is a very powerful tool in training for cycling. It involves short and frequent bursts of hard efforts followed by equally short recoveries.
It’s an important form of training that will build your cardiovascular fitness, improve your VO2 max, and boost your anaerobic fitness and muscle power.
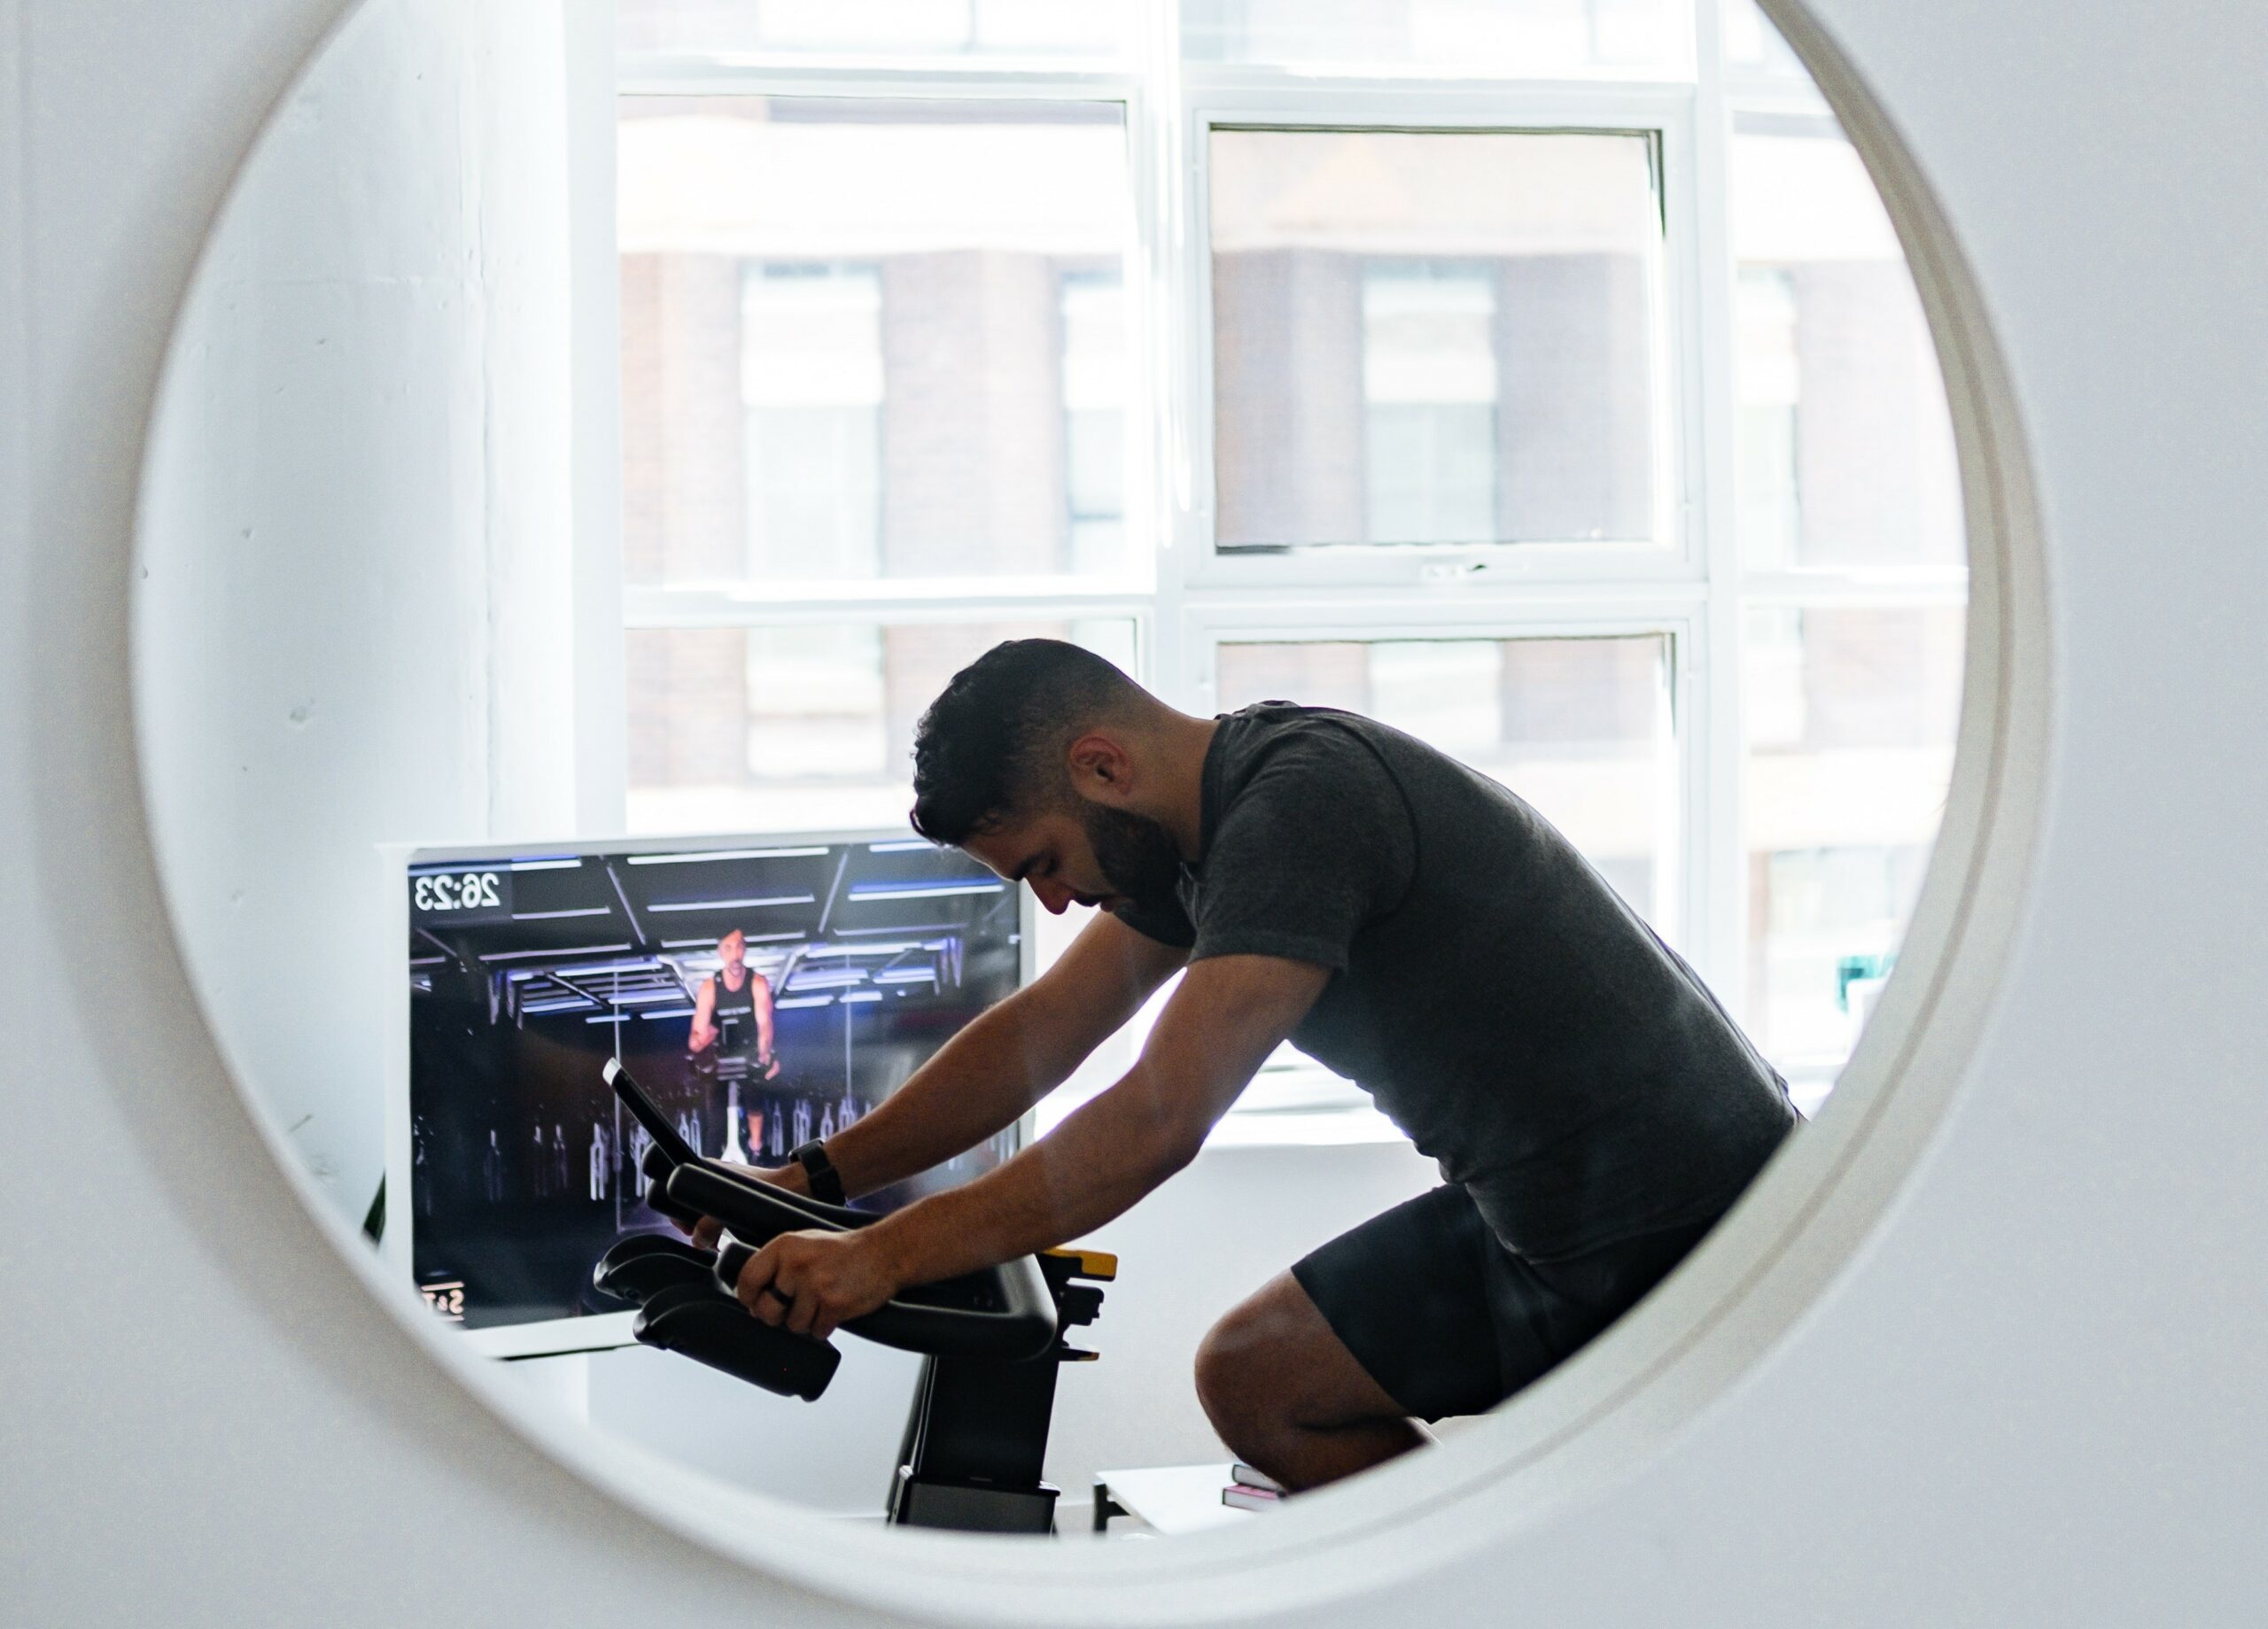
However, as your body needs some time to recover after such a hard effort, you should only do intervals once or twice a week. Even elite cyclists don’t do them more than that!
Here’s a quick idea of an interval routine that you can try out:
- Warm-up for 15 to 20 minutes by alternating between easy pedaling and sustained efforts.
- Do five intervals of 3 minutes at RPE 8 or Zone 4, with three minutes of easy pedaling in between.
- Cool down for 15 minutes.
- Do this once or twice per week, depending on your level of fitness.
- Alternately, you can lower repetitions and increase duration, or vice versa, to add some variability to the workout.
Threshold Training
Lactate threshold is the type of intensity at which your muscles become overcome with fatigue.
Therefore, training at lactate threshold is incredibly important to raise the level of work you can do before your muscles say ‘no more!’ Of course, to achieve that, you should always go slightly above your current lactate threshold.
Threshold workouts are usually done for 20 to 30 minutes, somewhere between zones 3-4, at 15 to 25% below your maximum heart rate, or around RPE 7.
It’s the type of ability you’ll need for a long, steady climb, for a TT race, or when trying to stay in a breakaway.
Here’s an example workout you can do:
- Warm-up for 15-20 minutes.
- Find a steady climb or a road with no interruptions.
- Ride for 20 to 30 minutes at 80-85% below your maximum heart rate, or 105-110% of your FTP, or RPE 7.
- Cool down for 15 minutes.
- Do this workout two or three times a week.
Endurance Rides

Before you can do any serious power work on your bike, you first need to build endurance. Road cycling is, after all, an endurance sport.
Endurance riding is the type of effort that you can pretty much maintain all day long without destroying your legs.
You should do at least one long endurance ride of 3.5h+ on the weekends in zone 2 (35-45% below your heart rate) and a few more during the week that are going to be around 2 hours long.
You can combine these with interval or threshold days.
The idea here is just to spend as much time as possible on the bike, without worrying about your average speed or power.
This is a great opportunity to just go out, explore, and have fun.
Technique/Cadence Work
Having good pedaling technique and riding with a high cadence is important to be efficient and to prevent injuries.
For most people, this does not come naturally, so you have to do a lot of work to improve it.
The best time to incorporate technique and cadence work is on your endurance rides.

These should be 3-5 minute long efforts during which you will ride at a higher or a lower cadence than you’re used to.
Additionally, you can also try to incorporate one-legged pedaling to make sure you are equally efficient with both legs.
Preferably, do this on a very quiet road or on a trainer/rollers at home.
While doing these exercises, make sure to really focus on how you’re pedaling and be mindful of your position on the bike.
Rest Rides
Recovery is just as important for fitness as exercising.
If you keep breaking your body without giving it time to repair itself, you’ll just end up overtraining.

You should do a recovery ride at least once a week, for 30-60 minutes. See this as an opportunity to ride to a nearby cafe with your buddies and chill out.
Do your recovery rides in zone 1 or at RPE 2-3. The goal is to have blood flowing through your muscles without feeling any exertion at all.
Looking for an app to track your adventures on? Check out our article on the best cycling apps.
Off the Bike Cycling Workouts
Riding your bike a lot and doing it smartly will make you a better cyclist, there’s no doubt about that.
However, there’s a lot you can do off the bike as well to become stronger, fitter, and prevent cycling-related injuries.
Here are some of the best things you can do with your time off the bike to maximize your gains and prevent muscle imbalances.
Strength Training
Strength training is not the first thing that comes to your mind when you think about cycling.
Related: Strength Training For Cyclists
After all, cyclists are not the most buff dudes out there. However, as we get older, muscle mass decreases and bone density dwindles as well.
Moreover, studies have shown that cycling also has a negative impact on bone density, especially in the lumbar spine (source).
Luckily, science also tells us that weight lifting has a positive effect on bone density, which makes it the perfect type of workout for cyclists (source).
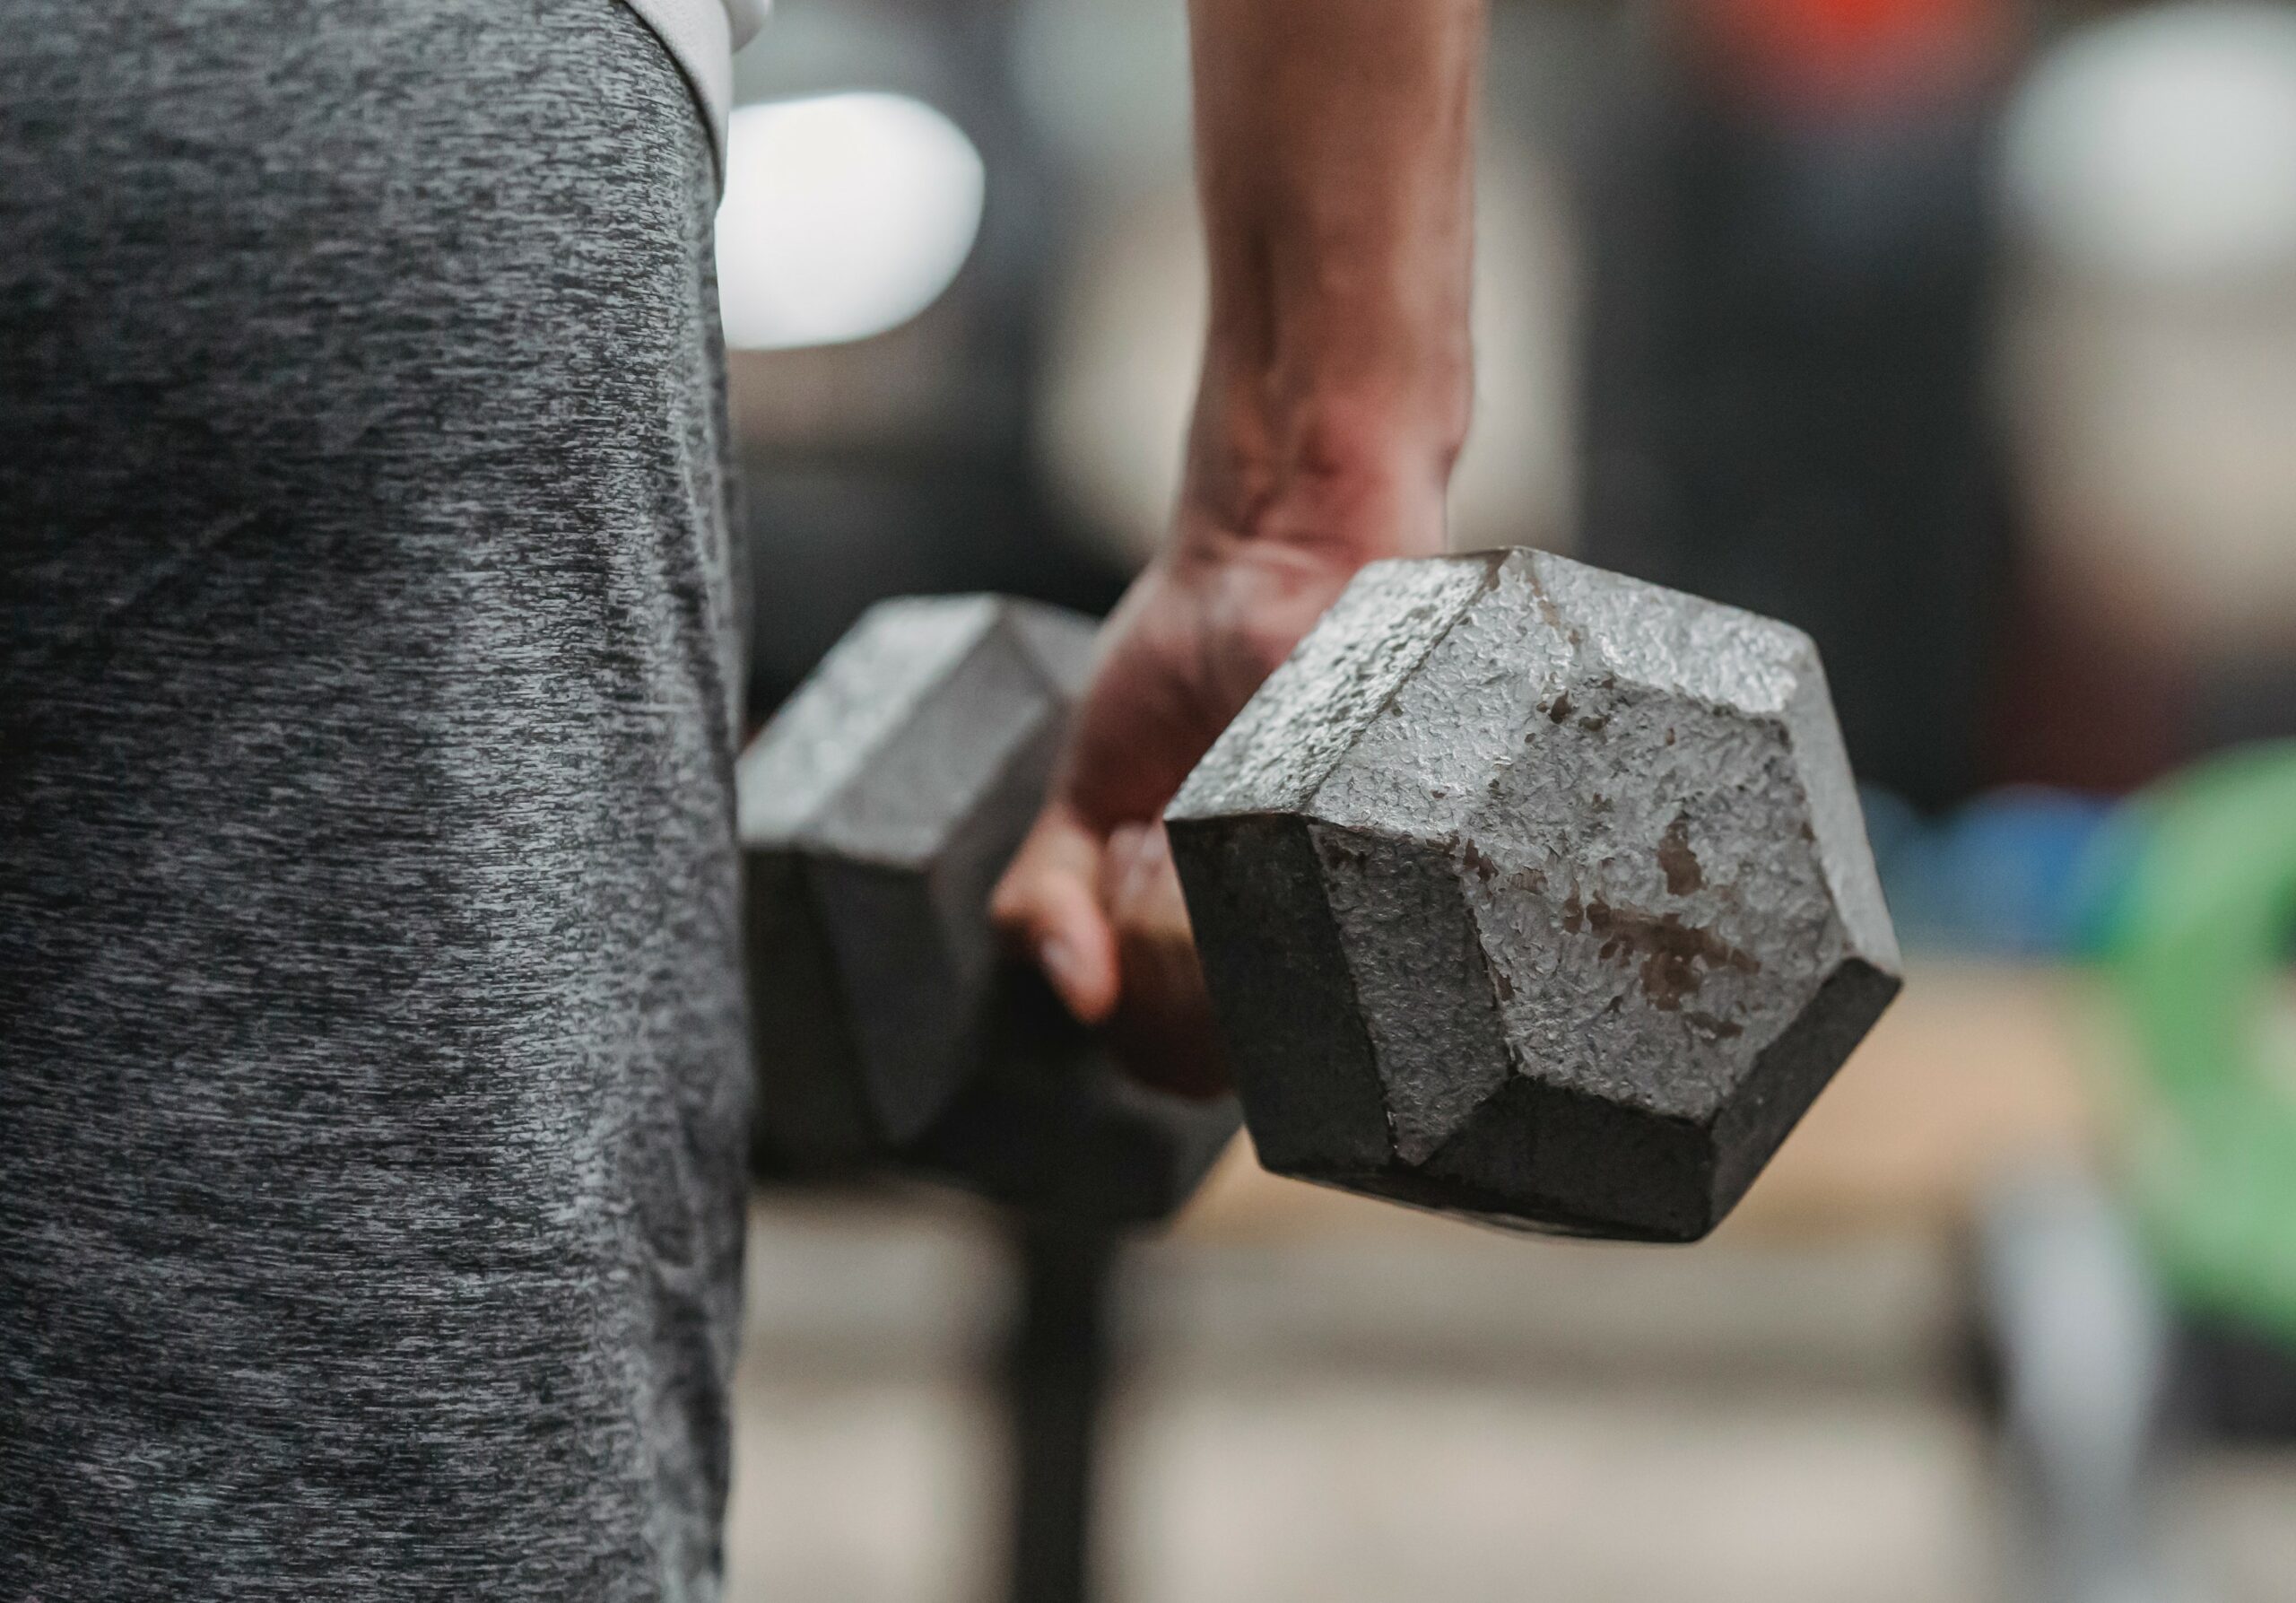
Therefore, it’s wise to incorporate gym work into your cycling routine as well. This will also make you a better cyclist by improving your muscle power and stability. All the pro cyclists are doing it.
Some of the best exercises you can do include squats, deadlifts, lunges, push-ups, pull-ups, planks, etc.
Make sure to work on your core as well, which is of paramount importance for stability and injury prevention.
Cross-Training
Cycling is a powerful workout that will develop your legs and cardiovascular system.
However, it won’t do much for your core or your posterior chain.
Therefore, if all you do is cycling, you’re at risk of developing muscular imbalances that could hinder your cycling performance or cause injury.
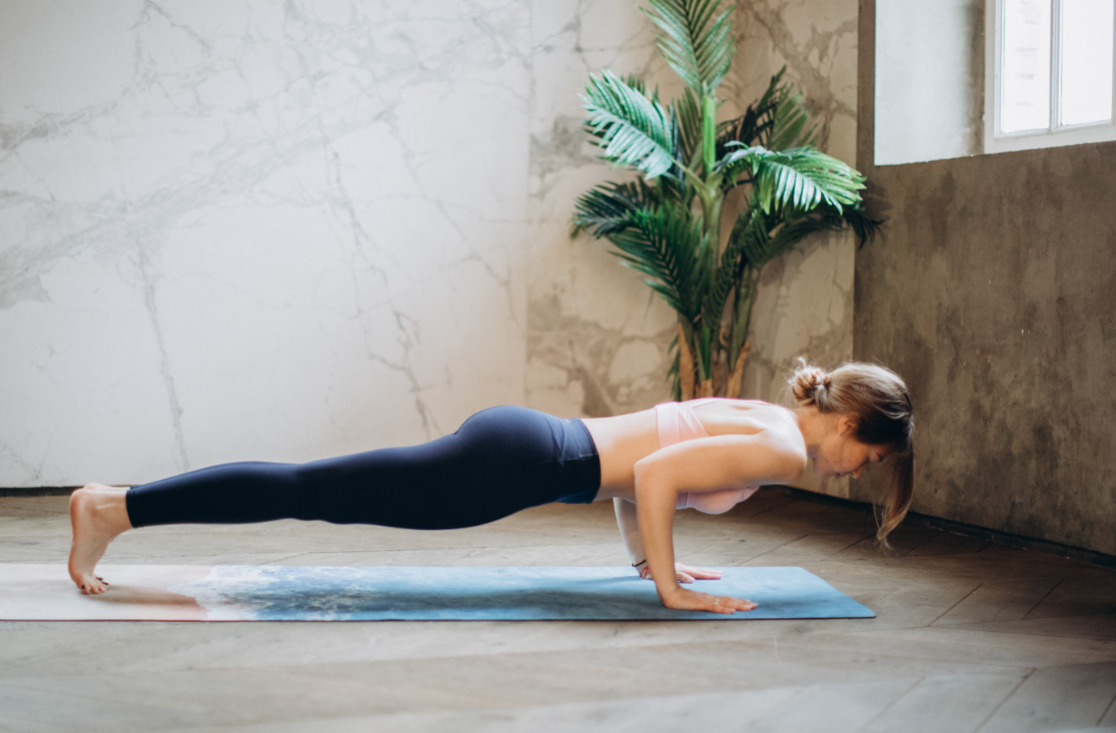
What we recommend is doing some cross-training in your free time. Or, better yet, making some free time for cross-training by opting for another activity instead of cycling from time to time.
This way, you will not only become a better and more versatile athlete, but you also won’t risk losing motivation for cycling.
Some of the best sports and activities you should do include:
- Hiking
- Running
- Swimming
- Yoga/Pilates
You can do these sports in the off-season, during winter, or even in peak season on your days off the bike.
Stretching and Foam Rolling
Yes, we know, stretching and foam rolling are often painful and boring.
But, having to take time off your bike because of an injury is painful and boring as well. Faced with this choice, we would always take the former option.
Stretching and foam rolling are powerful tools that aid recovery, relax muscles, and release tension that builds up throughout the body.
At best, these issues could lead to a lack of performance, at worst they could cause an injury.
Therefore, we recommend doing a daily stretching and/or foam rolling routine, preferably after your cycling workout, while your muscles are still warm.
You don’t need to do anything crazy to see great results—simply stretch or roll your quads, calves, hamstrings, glutes, and lower back. These are the areas that do the most work on the bike and require the most attention.
Frequently Asked Questions
How many hours a week should I cycle for training?
You can see results with as little as 5-6 hours a week if you do structured training. If you have more time, you can do 15-hour weeks as well.
It all depends on your schedule and what you’re trying to achieve. Generally, around 10-12 hours would be ideal.
Can you lose weight just by cycling?
Cycling burns a lot of calories, so it will help you to lose weight. It’s one of the best activities for weight loss because it has a low impact on the knees and hips.
Of course, you should regulate your diet as well and make sure you’re in a caloric deficit.
Is cycling bad for knees?
No, cycling is not bad for the knees. Cycling is a low-impact exercise that does not put too much strain on your knees and hips.
On the contrary, it is often the recommended activity for people with knee pain who want to speed up recovery or prevent further injuries.
Is 1 hour of cycling a day good?
Yes, cycling for one hour a day is good for you. Regular cycling will help you lose weight, get fit, and boost your mental health.
However, make sure not to go all-out on each ride to give your body time to recover, and take a day off from time to time as well.
Is cycling every day too much?
It depends on how you ride. If you only ride to the grocery store or commute a few miles to work and back home, then you can ride every day.
If you ride hard and do long rides, you should definitely take at least one day off per week.
How long does it take to get good at cycling?
Beginners can see some great improvements after just a few months of cycling. You can double, triple, and even quadruple your initial distances.
However, to get really good at cycling and win races, you need to accumulate at least a couple of years in the saddle.
Final Thoughts
To conclude, structured training for cycling is not rocket science. However, it’s not bro science either. 
To become a successful cyclist, win races, or beat your PRs, you just need to keep a few important rules in mind.
The most important thing to remember is to vary your efforts and give your body time to repair and recover.
Train with a clear goal in your mind and create a cycling routine around that goal.
As we’ve already mentioned, time off the bike is just as important as the time you spend in the saddle.
Therefore, make sure to do some strength training, cross-training, and don’t forget to stretch and foam roll.
Most importantly, remember to have fun and listen to what your body is telling you!

