Tubeless tires give us the opportunity to ride wherever we’d want without the stress and hassle of getting a puncture and having to change a flat.
Sounds perfect, right? Tubeless bike tires have been around for a while, but some cyclists are still hesitant.
With the long list of positives, there are some downsides to tubeless tires, for example, the weight.
The tire bead has a different shape than non-tubeless tires, and the casing is generally heavier.
So, what are tubeless bike tires and how do they work? Let’s dive right into it!
Contents
How Do Tubeless Tires Work?
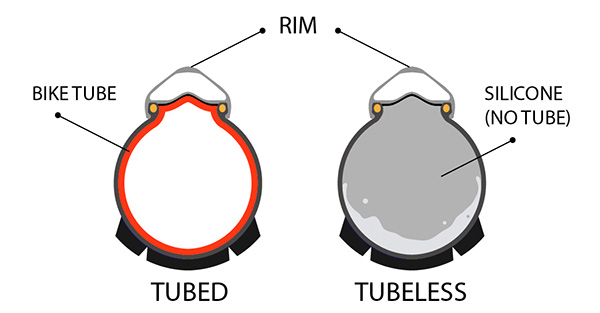
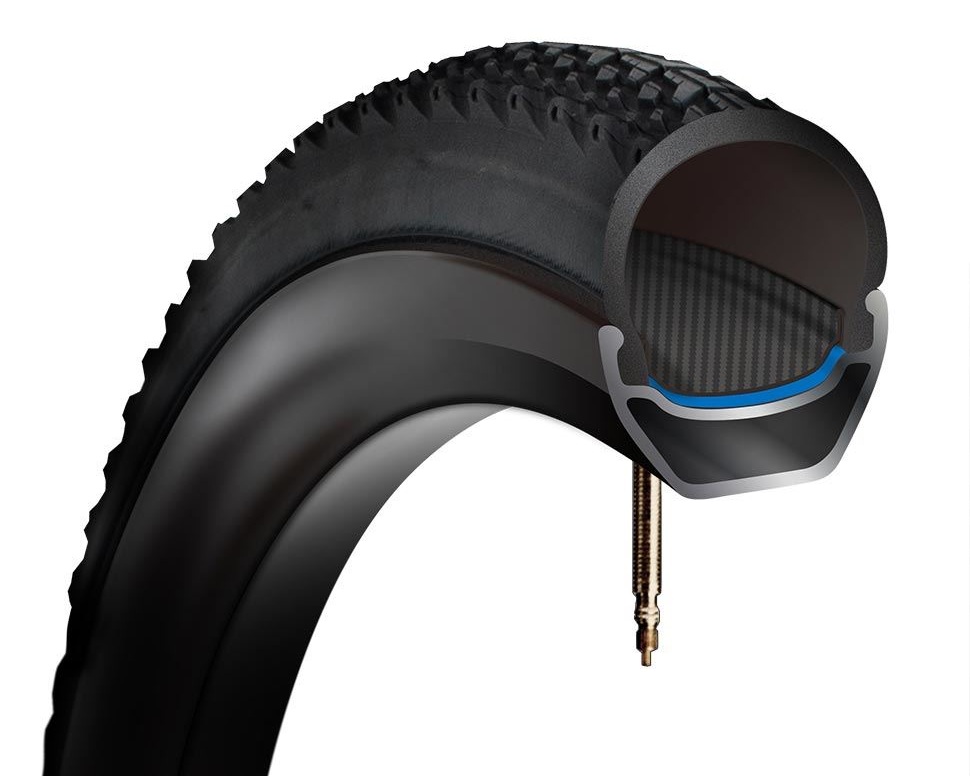
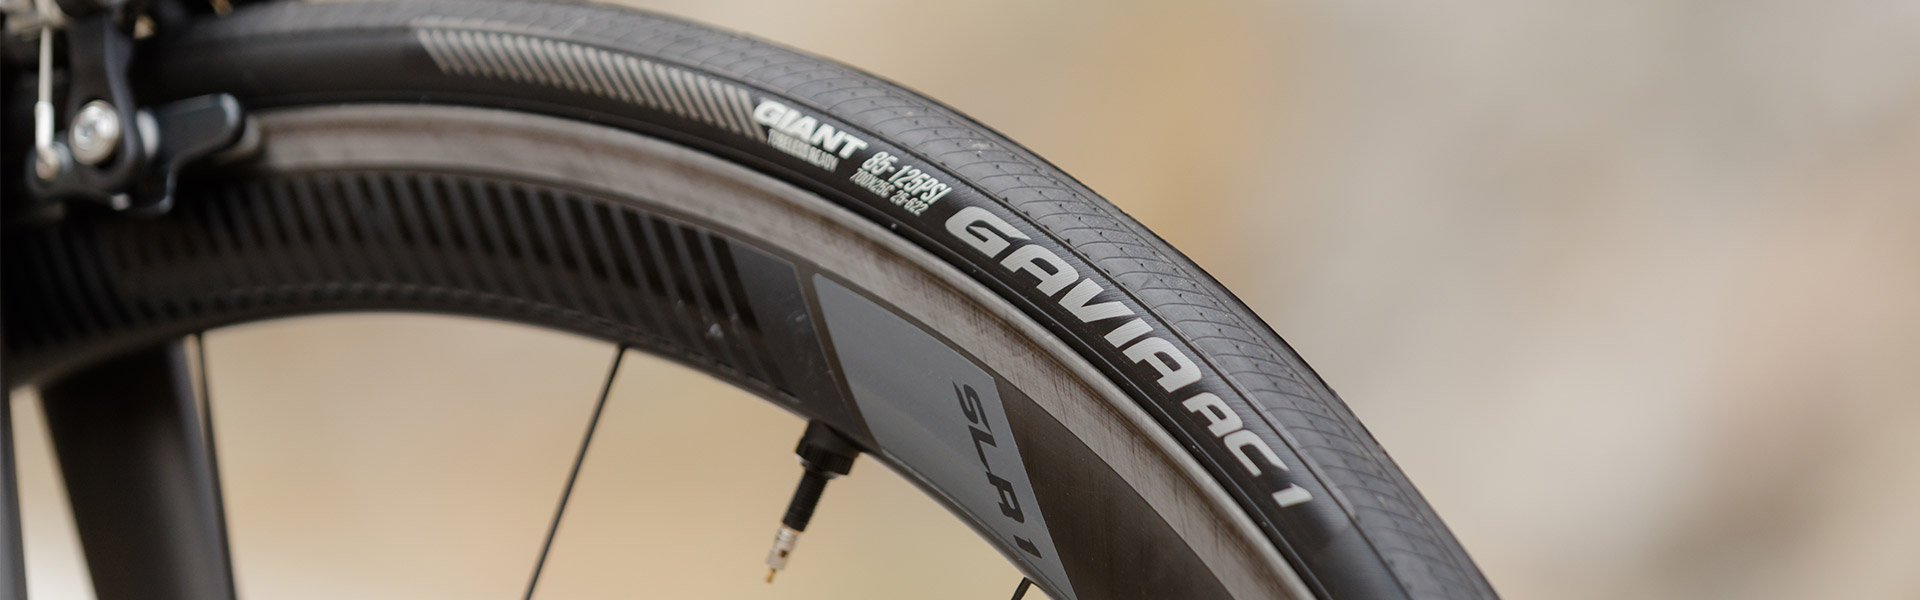
The different shape of the bead on a tubeless tire forms an airtight seal with the tubeless rim.
The rim has to be sealed with a suitable tubeless tape, but this can be anything from specialist tubeless tape from bike component manufacturers or even Gorilla tape or electrical insulation tape.
A tubeless valve has to be installed on the rim. The rim tape can be cut with a sharp knife or punctured with a screwdriver to allow the valve to be inserted.
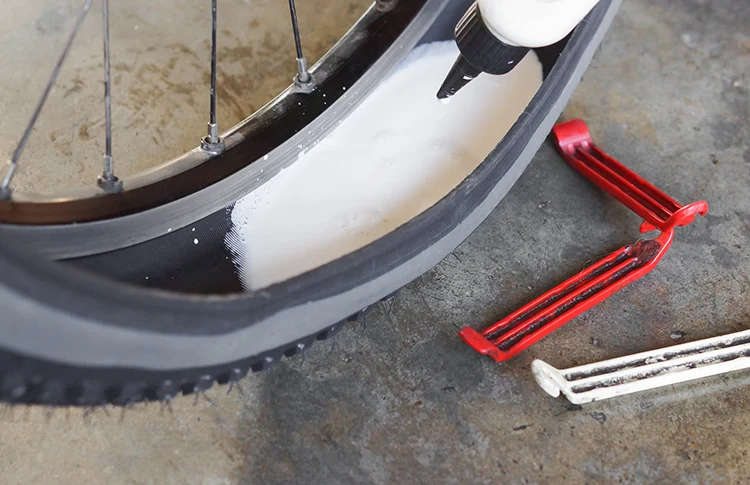
Once the rim is sealed, and the tire is installed, it has to be inflated until it locks on to the rim.
Tubeless tires, as the name suggests, don’t need to be run with an inner tube.
This is obvious from the audible ‘pop‘ sound when each side of the tire bead seals against the rim. Once the tire is seated, the sealant must be added to the tire.
NB! The cleanest method is by removing the valve core; this can be done with a tool or just a pair of pliers.
Some sealant bottles come with a plastic tube that will fit over the valve sleeve, so the sealant is pumped in from the container. Large syringes can also be used.
Some folks prefer to add sealant into the tire before inflating onto the rim. This may seem easier and cleaner, but if any issues are encountered when trying to seat the tire, this can get very, very messy!!!
When set up, tubeless tires can be run at lower pressures than tubed tires, adding comfort and traction and generally saving weight over tube set up. Most winter bike tires are also tubeless, because of the added traction.
If all this sounds too good to be true, why doesn’t everyone use tubeless tires?
Are Tubeless Bike Tires Worth It?

It may seem an awful lot of work to get your tubeless bike tires installed so you can get out and ride.
As with most things in life, there are benefits and drawbacks. If the installation goes to plan without any problems, it will still take a while longer than fitting a tube, putting on a tire, inflating, and getting out on the bike.
There are numerous stories of ‘tubeless hell‘ all over the internet. Some tires and rims (due to the fine margins required to achieve an airtight seal) don’t seem to go well together.
It can be hard work getting the last section of the tire onto the rim. Soapy water can be used to help this, along with a couple of tire levers.
Most of the problems seem to arise from trying to inflate the tire and to achieve an airtight seal once the tire is on the bead.
This can be due to the tape not forming a seal over the rim, the valve may not be seated correctly, but the most common reason is the tire is not seated on the rim bead.
Inflating the tire needs a large volume of air pumped into the tire very rapidly. If you’re lucky, it will work with a track pump. If you’re not so fortunate, it might need a compressor.
In case you are trying to do this at home with a track pump, there are a few procedures that can help make the job easier.
Some Tips
Removing the valve core and attaching the pump to the valve outer sleeve will get a lot more air into the tire.
If that doesn’t work, with the wheel vertical and the valve at the highest point, use the palm of your hand to press the tire in towards the valve.
This will push the air around the whole circumference of the tire, giving it more chance of inflating and seating on the bead.
A more extreme version of this method is to use a ratchet strap around the circumference of the tire to force the bead out where it needs to sit.
Now you’re probably asking yourself why the hell would I go through all that?
In my experience, once installed, it has almost been fit and forget.
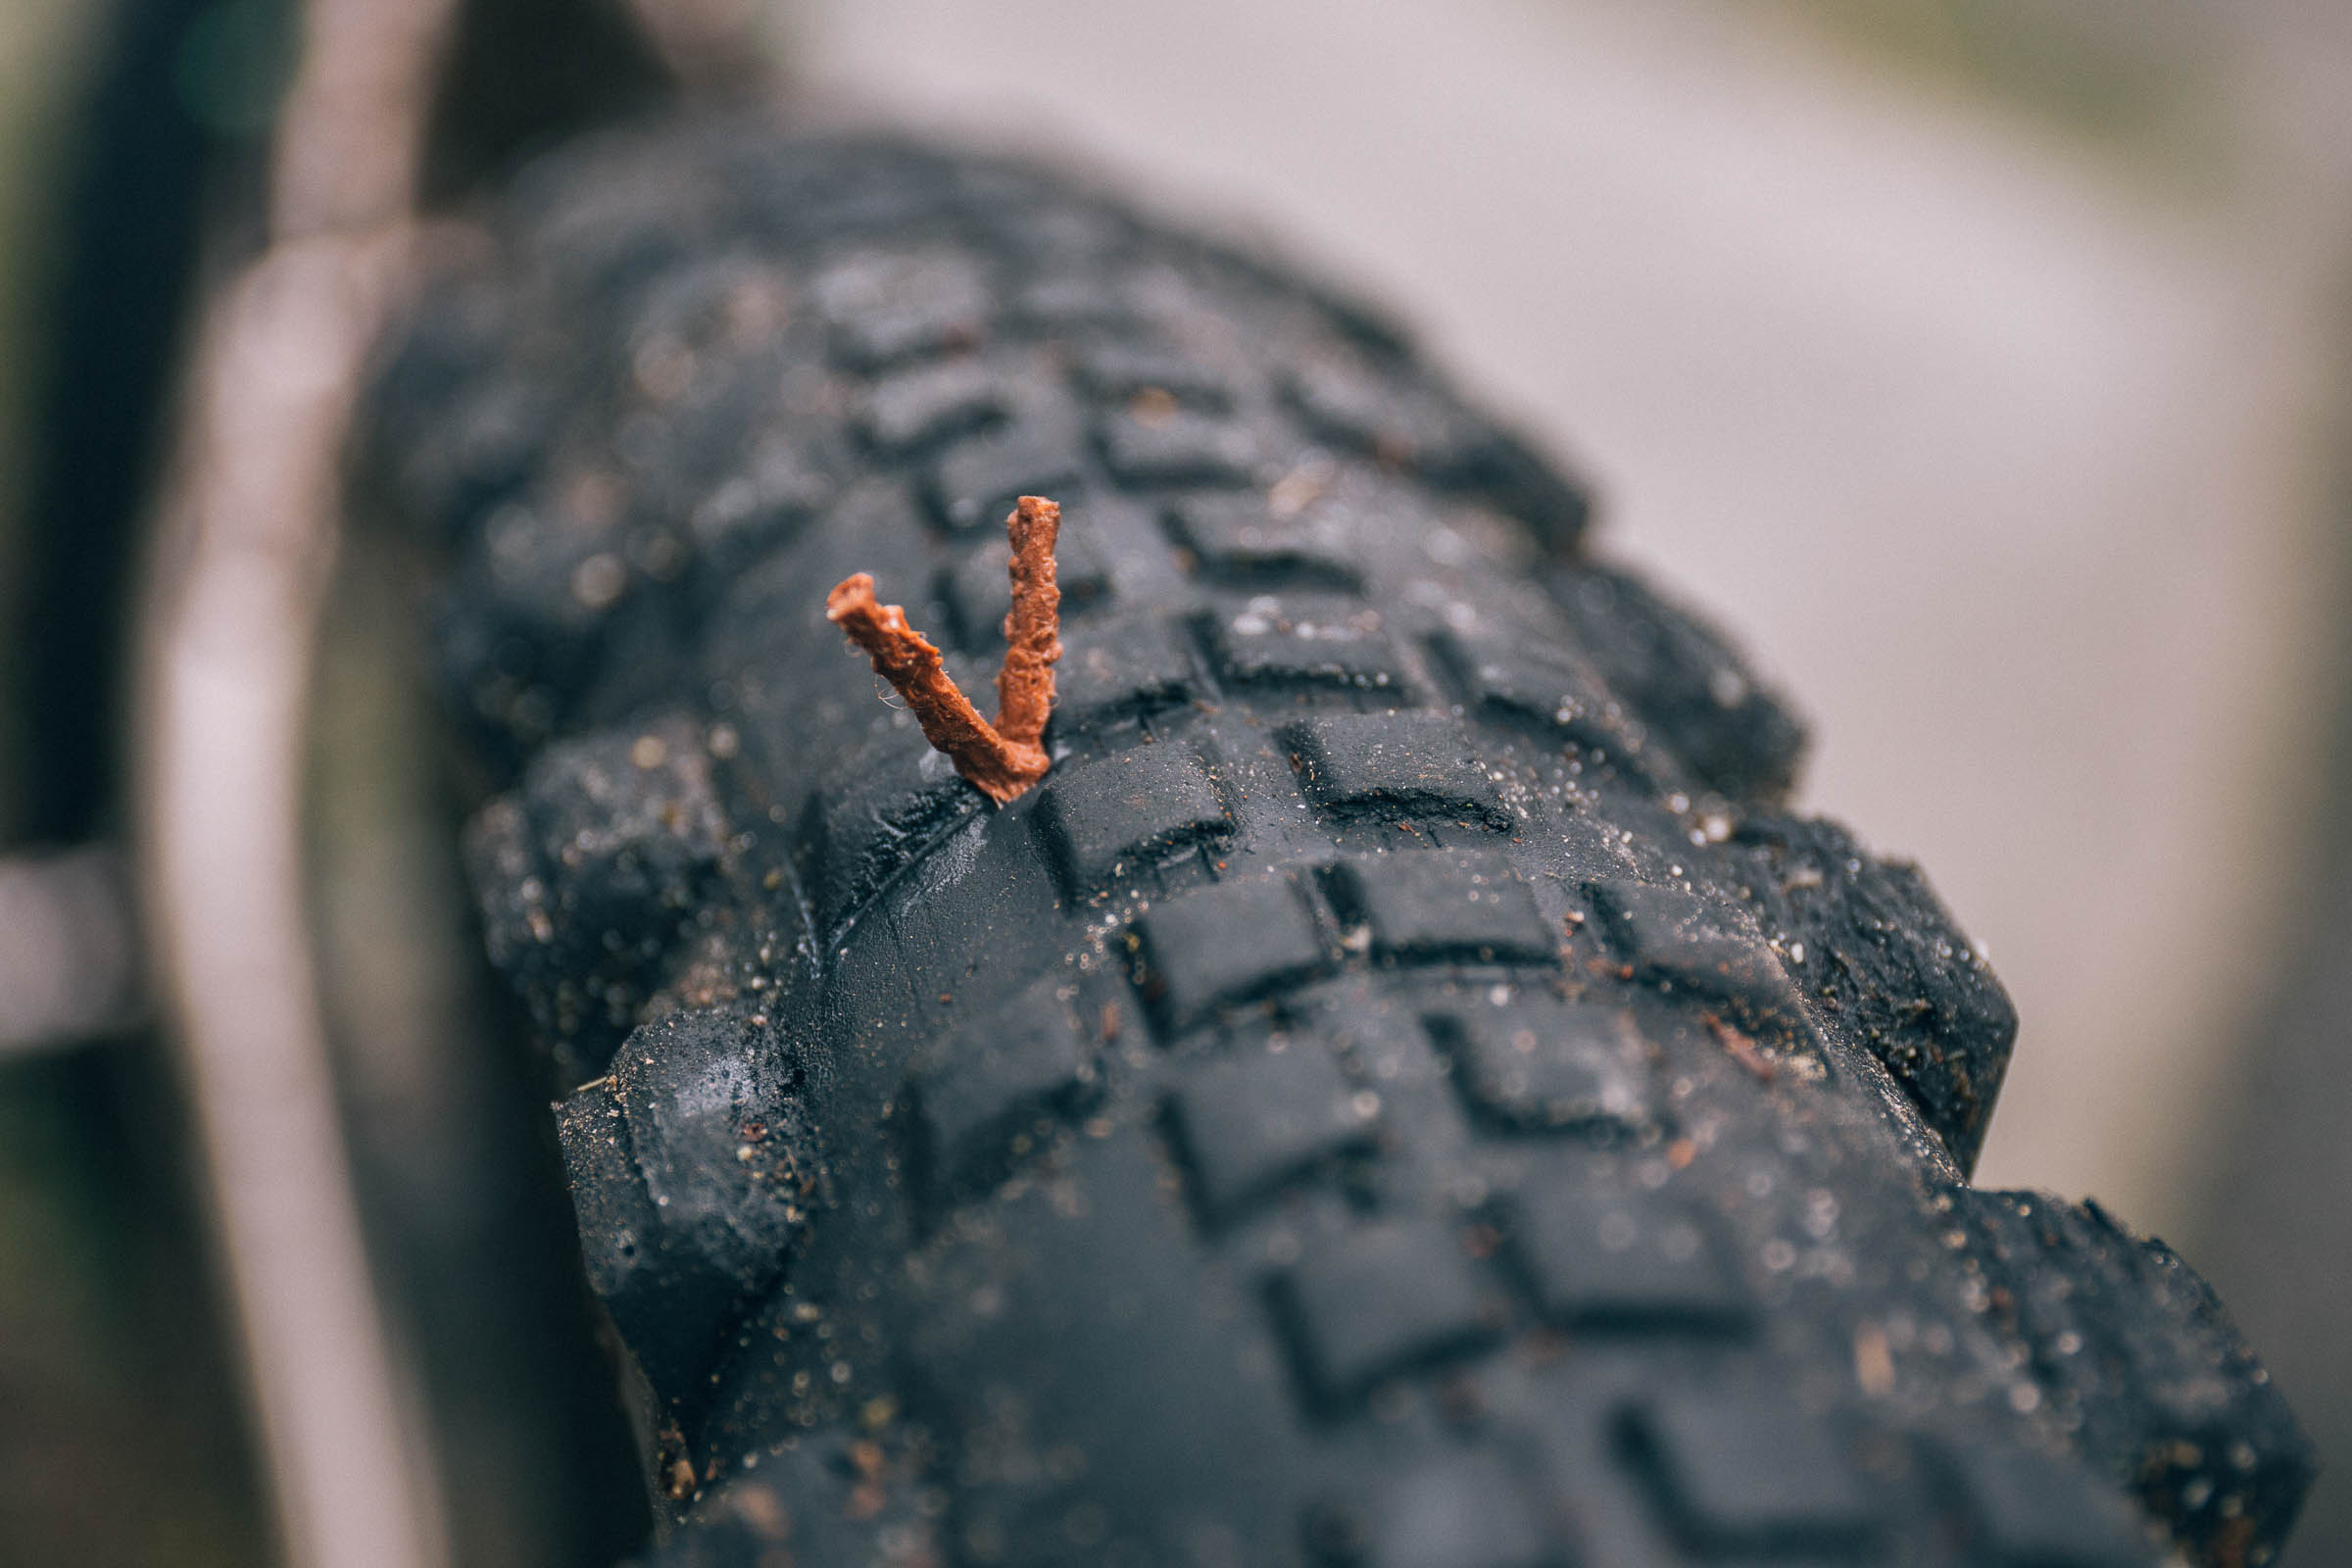
In five years and thousands of miles of mountain biking on all types of trails, from thorny scrubland to rocks, flint, and gravel, I had only one puncture when the sealant failed to work its magic.
When changing or replacing tires, I am always amazed to see the number of congealed hunks of sealant, where the tire has been punctured but not deflated, saving time and hassle of changing a tube.
So are tubeless bike tires worth it? I would think the vast majority of riders who have gone tubeless would never dream of going back.
Why Go Tubeless?
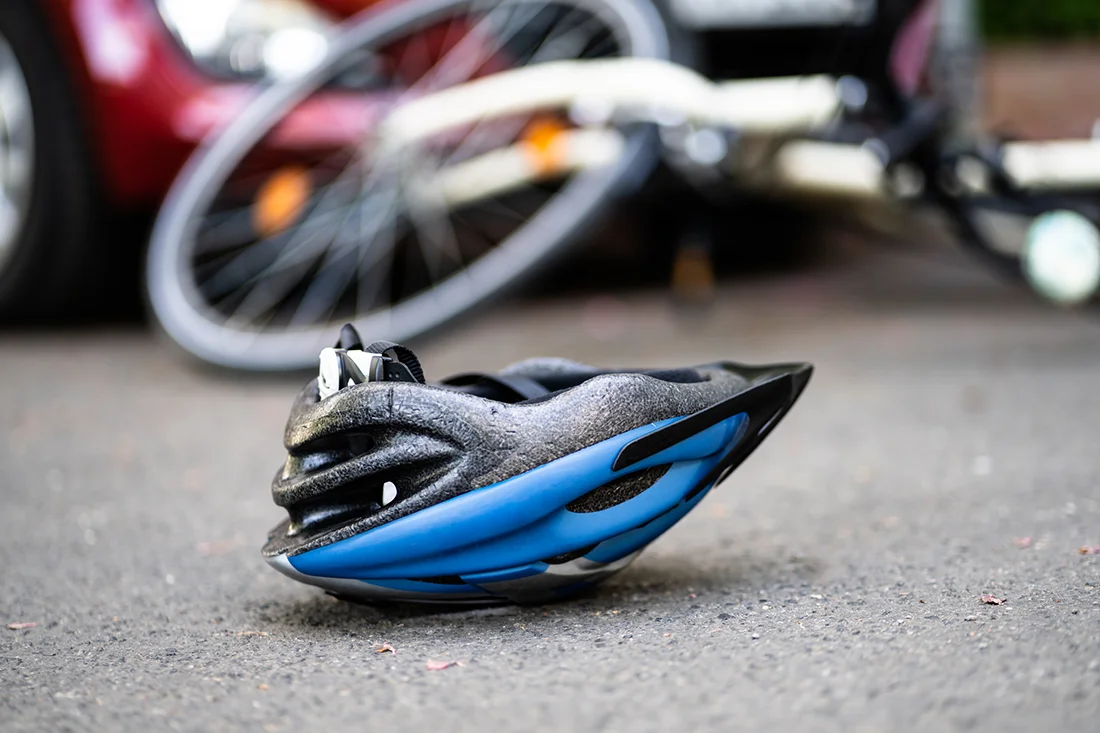
Fewer punctures are the main attraction with converting to tubeless, but let’s look at other effects from ditching tubes.
Specifically, for mountain biking, running lower tire pressure has many benefits. Increased traction is something we all want.
Low pressure in your tires gives you a larger contact area between the tire and the ground, which translates to more grip on the trail.
Instead of bouncing over rocks and roots, lower psi will help the tire conform to the shape of the obstacles.
Learn more: Tire Pressure Explained
Not only will you increase grip, but ride comfort and confidence will grow.
If you want to run low pressure with tubes, you can only go so low before you run the risk of pinch flats, also known as snake bite punctures.
You’re running low pressure with a tube, hit a rock, and you hear that dreaded hiss.
The sure sign is a hole, each side of the tube where it has compressed against the rim of the wheel. This type of punctures are totally eliminated with a tubeless setup.
Perks
Along with fewer punctures, many riders report improved handling due to a better feel of the trail from having one less layer of rubber between the wheel and the ground.
Saving weight is high on anyone’s list of priorities, and even with a heavier, tougher tire and a few ounces of sealant, there would be a weight difference compared to running a tube.
This will also improve acceleration and speed as the weight saved will be from the important area of the rolling mass of the wheels.
Although tubeless wheels and tires are undoubtedly more expensive and sealant levels will need to be topped up.
After the initial outlay, cost savings can be made against replacement tubes, especially if you ride in thorny scrubland areas.
Depending on where you live, and which brand you use, the intervals between having to add more sealant will vary. For some in warm, dry climates, it may be every couple of months, but in colder, damp environments, it could be up to a year.
The arguments for converting to tubeless are many and compelling.
Although not without its downsides, the benefits seem to outweigh the disadvantages.
The wheels, tires, tape, and valves are stocked at virtually all bike stores now, and if the initial setup is making you think twice about ditching the tubes, most local bike stores offer this service.
Are Tubeless Mountain Bike Tires Better?
Mountain bike tires see the most benefits of a tubeless setup than any other category of cycling.
Grip and comfort gained from running lower psi in your tires will improve handling, confidence, and how you ride and how long you can ride.
Almost completely eliminating punctures, weight-saving, and being more cost-effective seems to make it a no-brainer that for mountain biking tubeless is the way to go.
But what about road cycling, will the benefits be the same?
Tubeless On Road Bikes?
Road cycling has compared to mountain biking, only recently joined the tubeless movement.
There will still be some benefits from switching to tubeless road bike setup, although not as many, and not as compelling. Plus, if you thought setting up a mountain bike tubeless was a pain, with the narrow tires and tolerances required for rims and tires on road bikes, this could be even more of a struggle.
Puncture protection is still the benefit that persuades some riders to convert, along with less rolling resistance. Sadly, there is little to gain in the way of weight-saving, if any.
With heavier tires needed for tubeless, slightly heavier valves, and even a small amount of tubeless tire sealant, riders can also end up paying a weight penalty.
Key takeaway: Some tubeless users on road bikes have found that the sealant can struggle to plug a hole, due to the much higher tire pressure on road bikes, especially when it comes to larger tears.
Possible Changes in the Future
With the trend in road cycling now moving to wider tires and running lower psi, and also improvements in the sealant, this issue could soon become a thing of the past. The one thing which will make road tubeless more appealing to more riders is the introduction of industry-standard guidelines.
As this becomes used on more and more components, the worry of buying wheels and tires, and not knowing if they are compatible will ease. With almost every pro mountain biker adopting the tubeless setup, cross country, and downhill, it was obvious there were benefits for us mere mortals as well.
This has yet to happen in the pro peloton.
Most riders still prefer the use of tubular (the tire and tube glued to the rim) a lighter set up. More importantly, they can continue riding for some distance with a flat. Giving them enough time to get a replacement wheel, or even in one case a Paris-Roubaix victory, riding the last three miles with a slowly deflating tire.
As tubeless technology improves and more pro riders adopt the technology, the increasing benefits will become obvious, and along with the industry standard, tubeless will soon be seen everywhere, not just on road but on cyclocross and gravel bikes.
Can You Repair Tubeless Bike Tires?

What happens when you get a large hole which won’t seal? This is probably the most common question about tubeless.
‘Put a tube in it‘ would usually be the most common answer.
Most riders using tubeless always carry a spare tube for emergencies. I have done this for five years and only had to use it once in all that time.
Before being tubeless on long-distance bikepacking rides, I carried two and a puncture repair kit.
As with all industries, technology moves forward, and as in the automotive tire industry repairs can now be made to a tire by plugging it. This is where tubeless tire repair kits enter the game.
Mountain bike tubeless tire repair kits are small, lightweight, and simple to use. It should be easy to locate the hole as it will be fairly large if it won’t seal.
Insert a rubber plug into the applicator tool. The applicator is then pushed into the hole, so about half of the rubber plug is inside the tire. Pull out the applicator, leaving the plug in place. Trim the ends of the plug, reinflate your tire, and you’re ready to roll.
Large self-adhesive patches that stick on the inside of the tire are also able to be used for large cuts that can’t be plugged.
It still makes sense to carry a tube, especially on long-distance rides. It’s a good idea to have a tubeless repair kit, some patches, a bottle of sealant, and a CO2 inflator around too.
It’s not a great deal of weight, knowing you’ll be covered for any tubeless eventuality.
DIY aka Ghetto Tubeless
Disclaimer: Depending on your rim and tire combination, this might not work, and it could be dangerous. Do not ever attempt to set up road tires as ghetto tubeless.
What is Ghetto tubeless?
Ghetto tubeless use non-tubeless tires, standard rims, tape, sealant, and sometimes modified inner tubes to create an airtight seal between the rim and tire.
Ghetto tubeless has been around since the advent of tubeless. It was invented by riders wanting to try it, but not wanting to splash out on new wheels and tires.
There are two main methods of ghetto tubeless. One uses a 20″ BMX inner tube as a rim seal and the other gorilla tape.
Both can work, but if you damage a tire on the trail and need to insert a tube to get you home, the gorilla tape method makes this easier, and the setup is also more straightforward.
Inner Tube Conversion

1. For the inner tube conversion, the rim needs to be taped; electrical insulation tape will suffice for this.
2. After that, the 20″ inner tube needs to be stretched around the rim.
Even if you are converting 27.5″ or 29″ wheels rather than 26″, a 20″ tube will fit, but with a bit more effort.
Tip: Some folks have used a 24″ tube for the larger wheel sizes, but a 20″ will give you a better seal.
3. With the valve pushed through the rim hole, cut the tube around the outer seam. Spray contact adhesive on the edges of the inside of the rim. Stick the tube to the rim, leaving the sides of the tube hanging over the rim.
4. Mount the tire onto the rim (soapy water can help if needed), making sure not to pull the glued tube out of place, add sealant before mounting the last section of the tire.
5. Now you have to pump like mad, or preferably use a compressor. Hopefully, the tire will inflate!
If successful, then very carefully trim the edges of the inner tube which are hanging over the rim. Make sure not to damage the bead of the tire.
You may lose air for the first few days but reinflate and add more sealant if necessary.
Sounds like too much trouble? Try the gorilla tape method.
Gorilla Tape Method
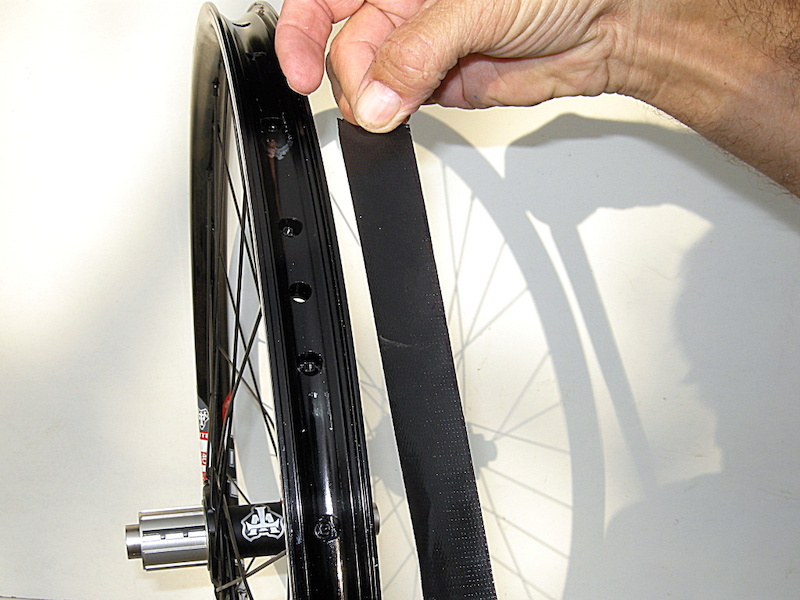
Use this to tape the rim, make sure you tape it taught and press it down hard in the central channel while moving around the rim.
You can use a couple of layers to ensure a good seal. Apply the tape out as far as the edge of the rim channel.
You can use an old inner tube for the valve. When cutting the valve out, leave enough rubber so it won’t get pulled through the hole, but not too much, so it will interfere with the tire bead.
Mount tire, adding sealant before completing, or through the valve core after. Again pump like mad, and hopefully, you will get the tire to seal and inflate.
For hints and tips to help with inflation and sealing any type of tubeless conversion, take a look at the FAQ section below.
FAQ
Can any bike tire be tubeless?
A tubeless tire will have a different shaped bead to a standard tire. The manufacturer labels tubeless compatible tires. It is possible to set up standard mountain bike tires as tubeless using the ghetto method.
Are tubeless tires better?
They can be run at lower pressures, offering more grip and comfort. Tubeless mountain bike systems can be lighter, have less rolling resistance offering more speed.
Do tubeless tires go flat?
Nearly all punctures will self-seal on a tubeless tire. Those that don’t can easily be plugged and repaired. Pinch flats (where the tube is pinched between the tire and rim) are eliminated with a tubeless setup.
How to convert to tubeless bike tires?
You will need tubeless rims and tires (unless attempting the ghetto tubeless method). Tubeless tape or Gorilla tape to seal the rim, along with a tubeless valve. Sealant to seal any punctures when riding.
Are my bike tires tubeless?
Tubeless tires will be labeled as such. Often used terms are TC (tubeless compatible), TCS (tubeless compatible system) used by WTB, TR (tubeless ready), or 2 Bliss, used by Specialized.
How to inflate a tubeless bike tire?
Inflate tire to seat bead before adding sealant. Tubeless tires need a lot of air rapidly pumped into the tire.
A high-volume track pump or a compressor is suitable. Remove the valve core; this will get air into the tire more rapidly.
When inflating, apply pressure to the tire casing above the valve. This will push air around the whole circumference of the tire. Inflate until you hear two loud pops when each tire bead locks on to the rim.
How to get tubeless tires to seal?
Add sealant, preferably by removing the valve core, or removing a section of the tire from the rim.
Reinflate tire to maximum psi. This will be labeled on the tire wall. Spin wheel vertically and turn it horizontally several times.
You want to get the sealant all around the rim and tire to seal any air leaks. Finally, on a hard flat surface, bounce the wheel on the ground from a height of about 18″.
Catch the wheel and rotate it about 45 degrees and repeat several times. This will help force the sealant into any leaks.
How to maintain tubeless tires?
Check sealant levels regularly. The easiest way is to remove the valve core and use an old spoke or aerosol nozzle extender to dip into the tire.
You will be able to see the level of wet sealant remaining. Doing this will also help to keep the valve clear of sealant to enable easier inflation.
While the valve core is removed, pick off any sealant stuck to it. This will ensure the free movement of the valve when adjusting the air pressure in the tire.
Related: How to choose bike tires
Thanks. Very helpful.